AnimeFinished ModelsNon scalePretty Armor

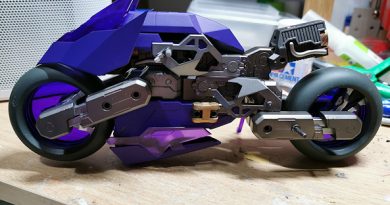
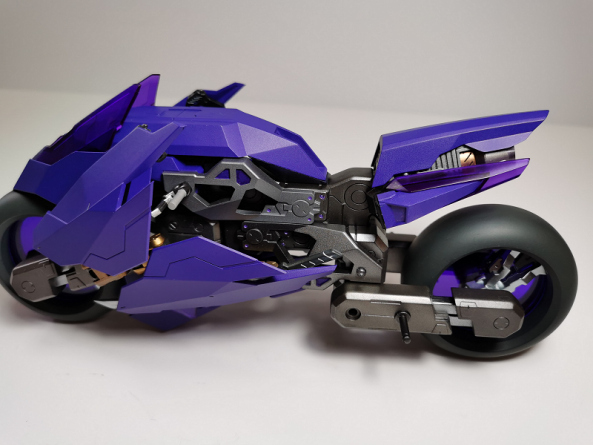
Pretty Armor “Viper” Bike
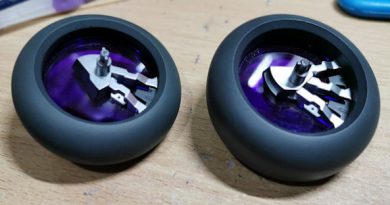
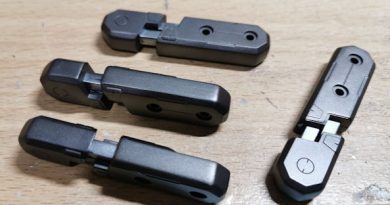
Pretty-Armor-Bike-01

Image 1 of 10

Completed Pretty Armor "Viper" bike. picture No.01. Painted in purple with metallic shades & rubber coloured tyres.

Starting the Pretty Armor V3 Viper bike was exciting, especially with plans for a striking purple colour scheme to match the kit’s tinted parts. Right from the core engine block, things got interesting: after filling, sanding, and priming, I experimented with both gloss and satin primers on the outer engine parts. The idea was to create subtle colour shifts when painting with metallics, a small detail that adds depth.

As the engine took shape, I highlighted bolts and used different metal shades for realism. Fitting the outer frame parts was straightforward, and I kept the purple theme consistent. But then came the tyres, and this was a real headache. After glueing the wheels, ugly seam lines were glaringly obvious. Since these would be visible, I had to fix them. My go-to solution was thinned Revell filler, applied twice and sanded smooth. To “seal” the filler, I used a thin layer of superglue, sanded to a glass-like finish. This trick worked wonders, and after priming and spraying with dark rubber, the tyres looked much better.

The brakes and hub units needed careful trimming to fit, and I set them aside for later. Next up: the bike’s forks. Painting the outer and inner sections in two metallic shades was fun but gluing them together revealed more seam lines. Out came the filler and superglue again, followed by sanding and repainting. The gaps were pretty large, but after redoing the paint, the forks looked much better and would be on display when finished.

Moving on to the outer panels, I went with a strong purple and highlighted the panel lines with light grey. Cleaning, priming, and painting took time, and I let the panels dry for a couple of days before panel lining. For the fairing and wings, I painted the moveable joints brass and used liquid mask to keep polycaps from sticking. The brass contrasted nicely with the purple armour.

Panel lining the armour and fairing was tricky as the lines weren’t deep, so it took two attempts to get the paint to stay put. Fitting the engine parts, wheels, and forks was easy, giving the bike a long, low look. The fuel tanks followed the purple scheme but assembling them was fiddly; small clear parts kept shifting out of place. The grips got detailed paintwork, and I had to be careful fitting the front armour to avoid damaging the topcoats (which did happen, so some repainting was needed).

Detailing the swords and pistols for the fairings required a steady hand, but the results were worth it. The exhaust section was the last big challenge. I tried to create a “burnt” look on the verniers, but it ended up too symmetrical and not blended enough. More practice needed there! Final assembly involved checking that everything moved as intended, dusting the model, and touching up paint after a minor drop. With the adjustable side stand fitted, the Pretty Armor Viper bike was finally done.

Key Takeaways:

Practice makes perfect, especially with tricky effects like burnt metal.

Seam lines are a persistent problem—filler and superglue are your friends.

Patience with drying times and careful assembly saves headaches later.

Don’t be afraid to redo paintwork if something goes wrong.

Leave a Reply

Your email address will not be published. Required fields are marked *