Bandai Figure Rise Green Haro -02
Now it’s time to add the various metallic shades to the inner body of the large Haro model. I am basically using just 3 shades then will highlight & panel line the inner body with a bright green colour.
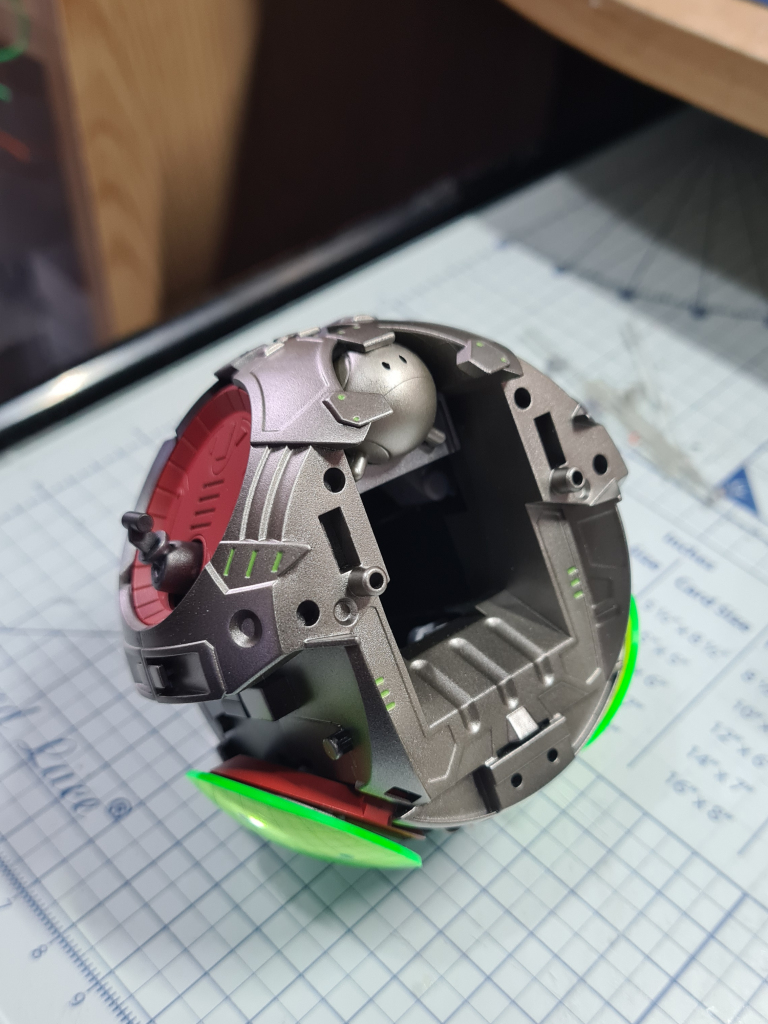
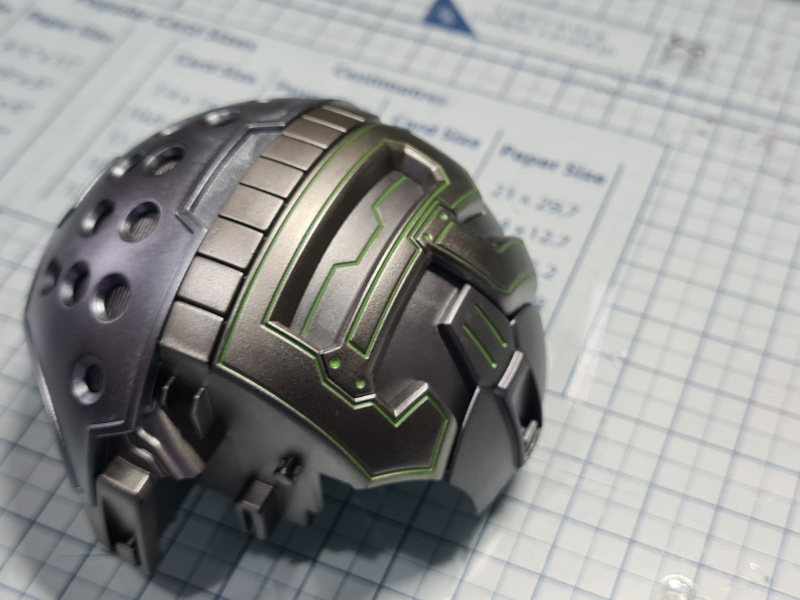
The main core was painted with Vallejo “Xtreme Metal” pale burnt metal and when dry I used a thinned acrylic green called “Escorpena Green” as a panel liner & highlighter, which against the metal colour makes it stand out even more.
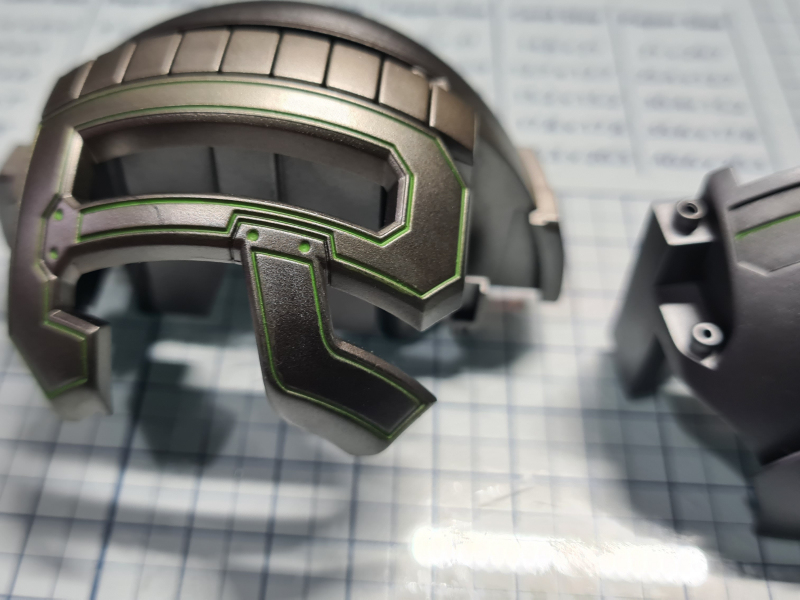
To add contrast some of the panels were painted in gun metal colour, with the same green highlights as I used previously.
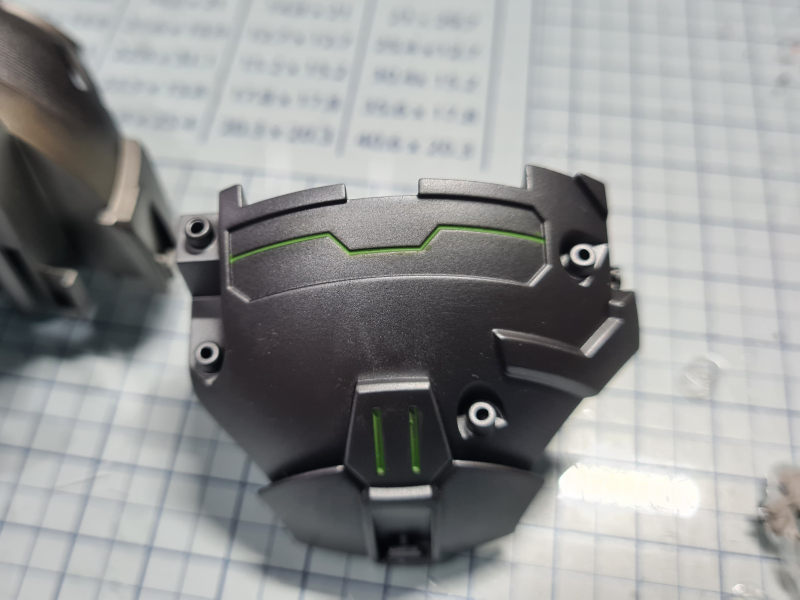
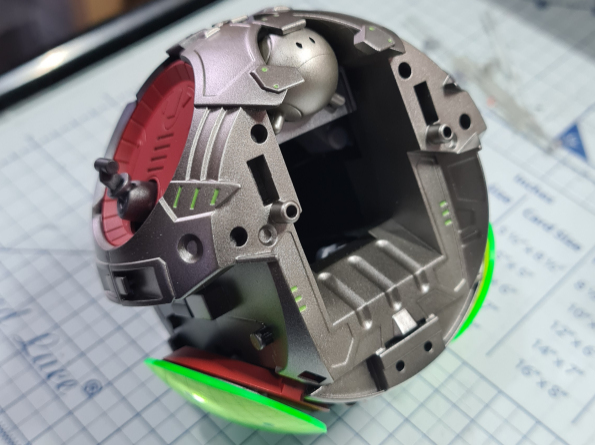
As the inner body parts come together the metallic shades start to become more obvious and the effect I was looking for is beginning to work.
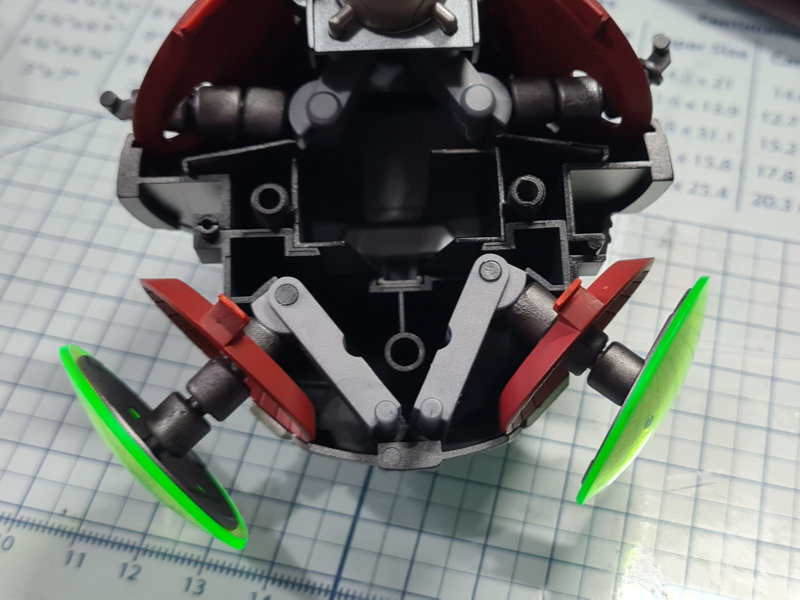
I painted the arms of the Haro in the same colours & way as the feet back in stage one but left it off the pins that have to move to stop it form being too stiff to move. I went away from what the instructions say & not fitted the hands at this stage as I will be painting them later on, so after mounting the parts in the body I checked that they still moved freely.
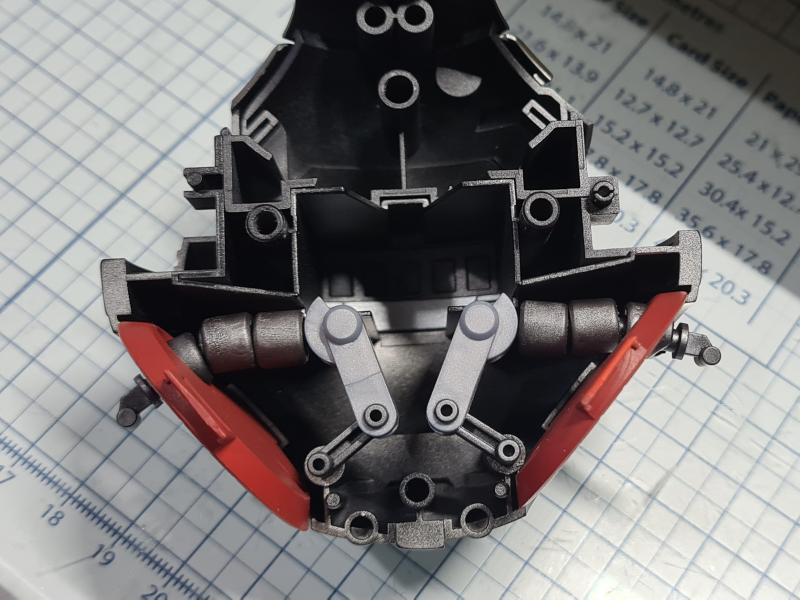
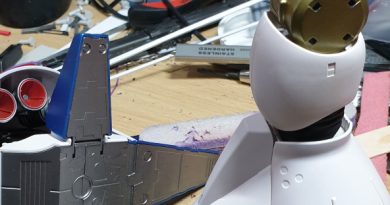
Take care with the small Haro as when I was taking it off the sprue I bent, then snapped one of the “arm” covers so had to glue fill & sand this in place before painting the whole small Haro in duraluminium. This fits into the inner main body by what is meant to represent a cockpit area.

The completed leg sections from stage one went into place and again I checked that the mechanism still works well and not too stiff in the moving joints.
All I need to do for this stage is to fit the front inner body section on. Take your time to make sure all the pins for the arm & leg mechanisms line up before gently pushing from either side to get it to fit up against the rear body. There was some creaking sounds as mine went together, but that was probably due to to mine being painted.