RE/100 MSN-04 “Custom Colour” Nightingale – 06
Now I’ve made some storage space on my shelves it’s time to put the lower half of the RE/100 Nightingale together. The front armour section was painted white the put together with the detail on the tip painted in the metallic light blue like the rest of the highlights to keep the same colour scheme. Luckily the way these parts go together there is no visible seam line to remove. I carefully fitted the legs first, then the front & rear armour panels, and as you can see this is now getting to be one very large model.

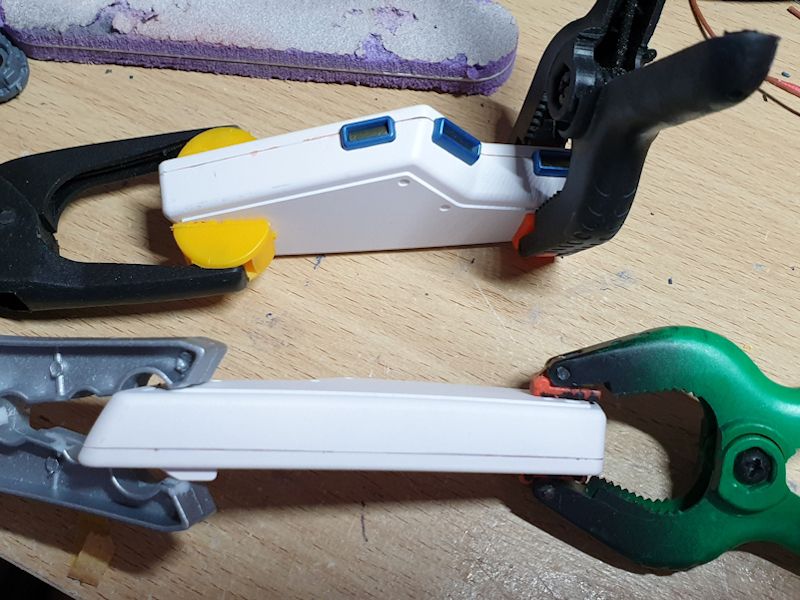
When I put the painted side armour pieces together sadly these ended up with some serious seam lines, which I will have to spend a lot of time sanding, filling and masking before I can re-spray them back to the white I chose ( OK who’s mad idea was it not to go with the original Red ???) . Yes I know these are meant to be snap fix kits, but to me this would be a major negative, and I would hate to view it everytime.
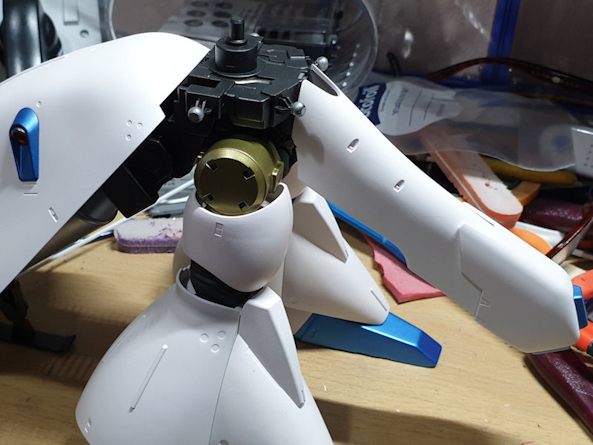
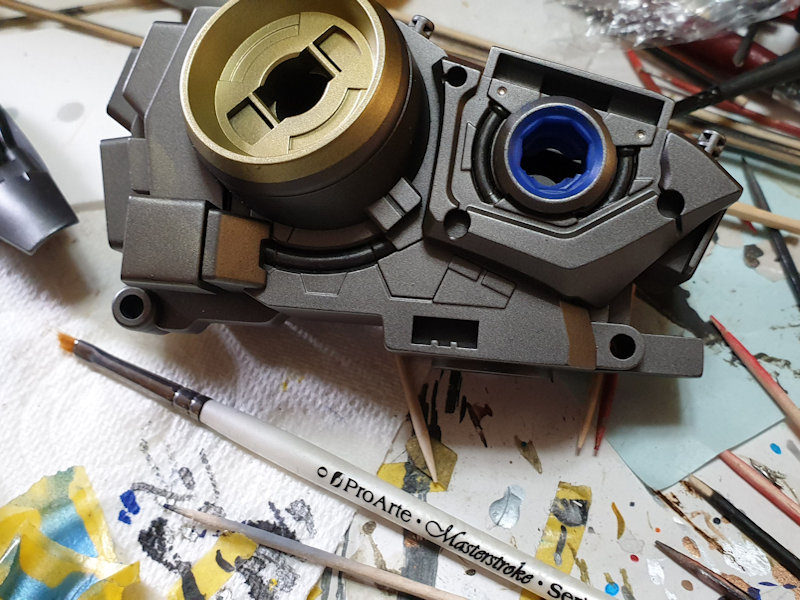
The core section of the upper torso was next and even though most of it will not be seen I decided to add a few painted details to it. Like with the lower torso I painted a similar “seal” to where this time the arms will fit, and where the wings & main thusters fit I masked off & sprayed an area in gold, then to finish it off painted the pipes below in a different shade of a dark metallic colour
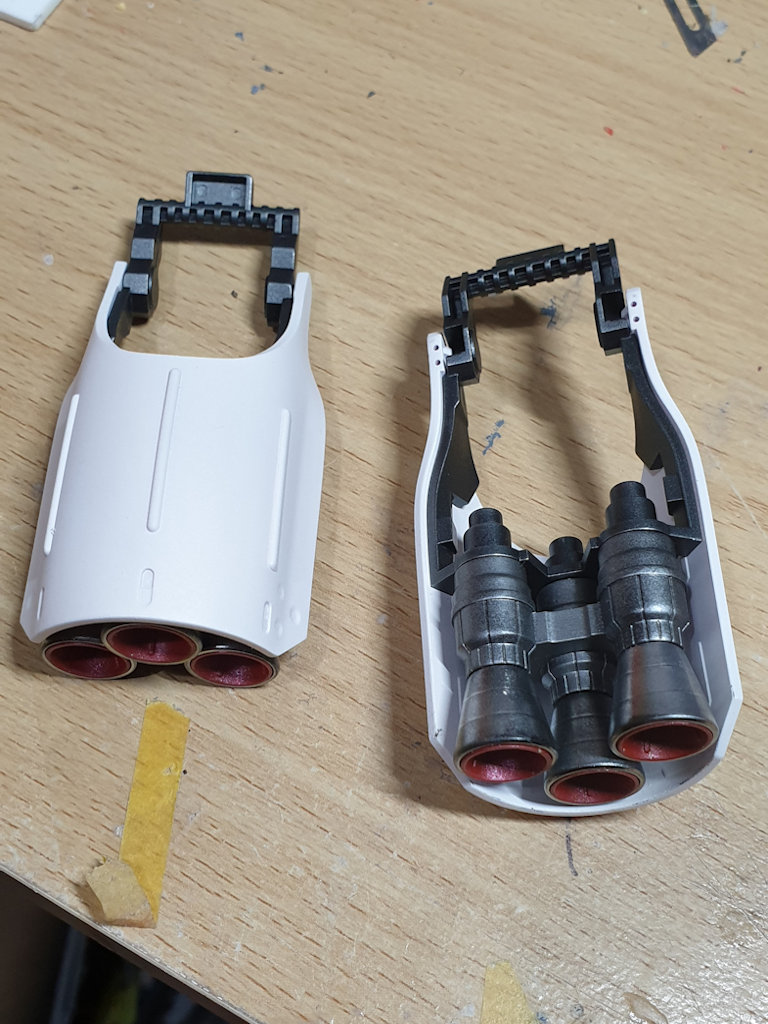
For the thrusters that go above the arms I used the same technique on the engine verniers to produce the metallic red effect and the same metallic shades as the leg main engine units, then fitted to the now white outer section.
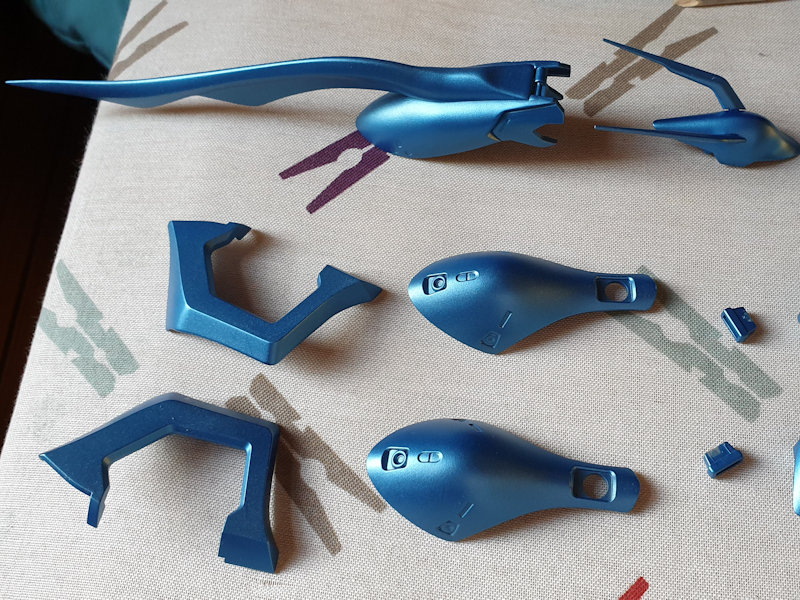
Onto now the parts of the he upper torso that I want to be in the metallic blue. The first section that needed work on before painting is the head of the RE/100 Nightingale as the fin section & rear head had the seam lines filled & sanded to produce a smooth appearance. These finished sections together with the torso armour and smaller sections of the arm armour were then primed and painted in the light metallic blue colour and I’ll leave them to cure a while before fitting.