1/24 GAT-X105 Bust – 06
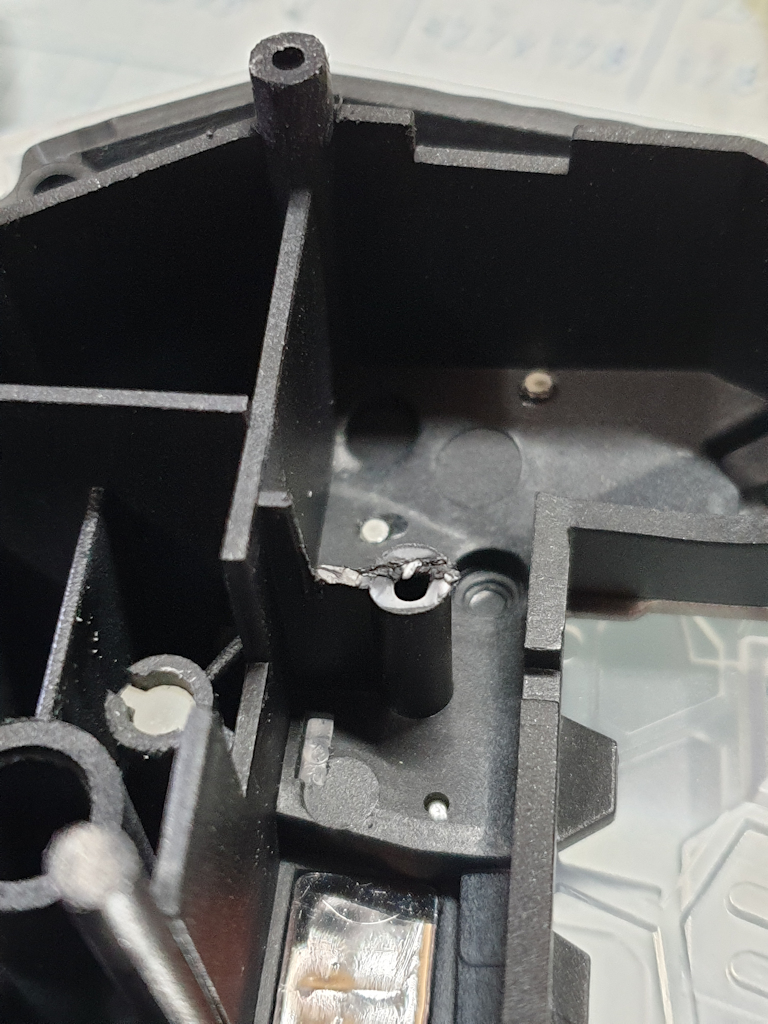
Now comes the time to put the head together on the 1/24 GAT-X105 head and it’s a very good job that I test fit stuff first as where they say to feed the cables is a mess in my view & can very easily mean they get damaged at worst, and make it a imperfect fit at best. Some serious cutting out of the area behind of the head piece and down to the neck area is need to stop the wires getting crushed, but with there being a lot of mounting lugs all over the parts loosing a few will not affect the fitting in anyway, and as you can see in the two pictures below it allowed for a much wider gap for the wires.
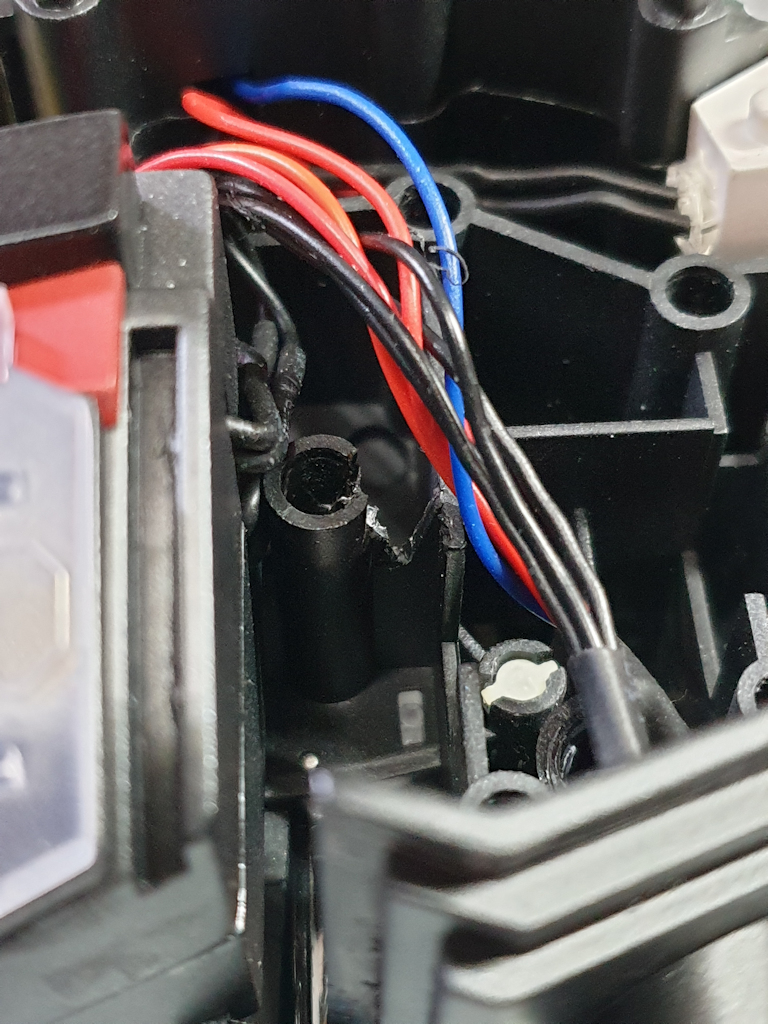
Before I put the main two pieces together the top sensor unit and it’s wires were put in place and fed down the new widened gap and through the hole in the neck joint.
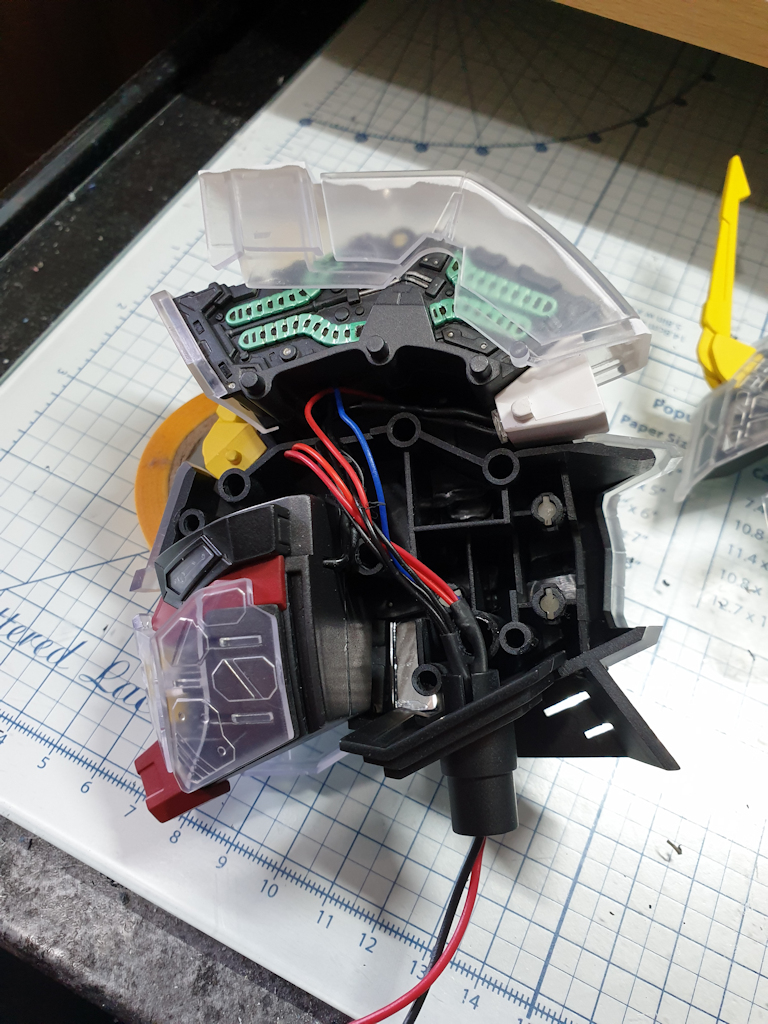
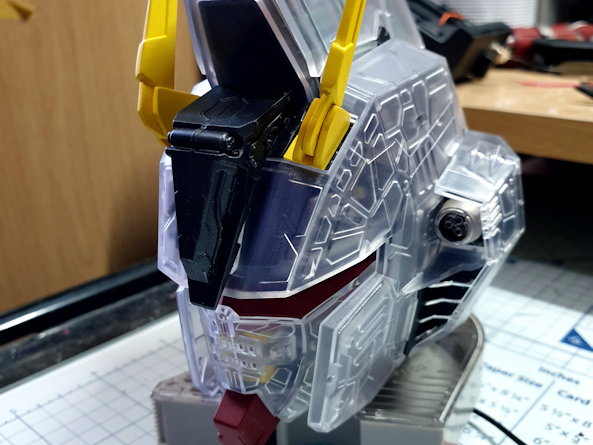
Just used a small amount of glue on the inner mounting lugs of the head and not on any of the parts that will be visible and very carefully put the two pieces together making sure the wires stayed in position down the new channel and then just a final firm press together is all that was needed, then a quick re-check of the lights before the glue started to set. This is just going to sit and dry ready to be fitted near the end.


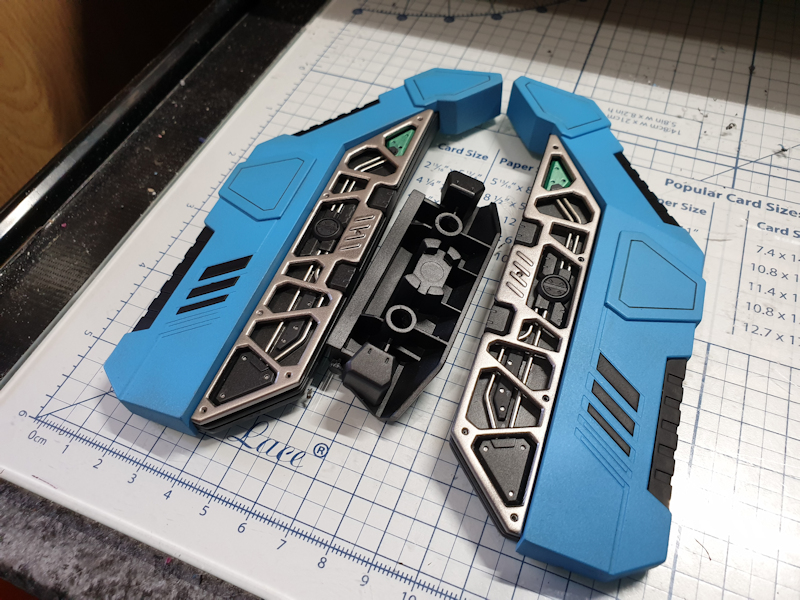
While the head is drying time to do more work on the lower section. This time it’s the side panels that need some work and first was to take off all the chrome that I didn’t like to match what I had done with some of the other parts and resprayed in Vallejo “Dark Aluminium” instead. The inner part of the side frame was painted in a Gunmetal colour with Steel and Aluminium highlights. Going with my chosen colour scheme the outer panels were painted in a pale Sky Blue. Black would have been way too dark for the panel lining, so I went with a Dark Grey instead.