1/24 GAT-X105 Bust – 05
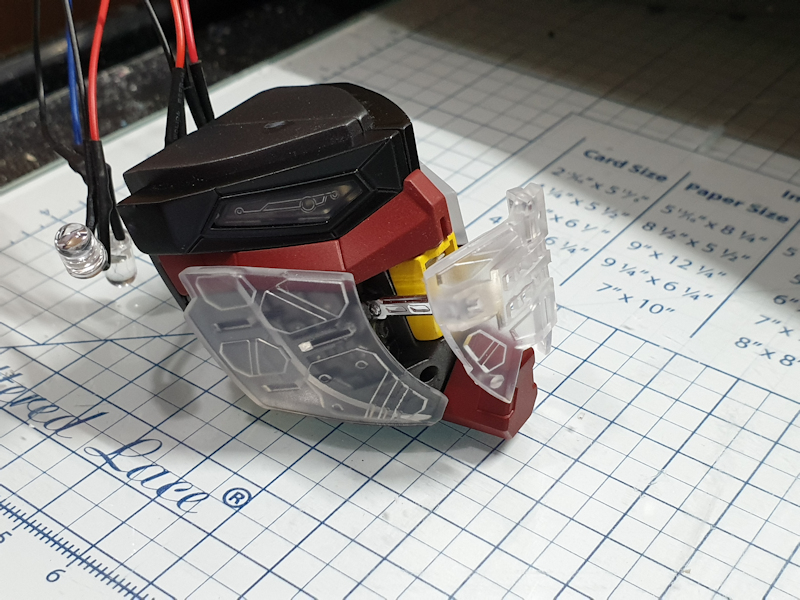
Time to start on the LED’s for the 1/24 GAT-X105 head, and as a lot of this will be seen still with the clear parts I painted the eye sections and the front mask parts in different metallic shades then carefully put in the eye LED’s as their fit was very tight and i had to bend the LED ends up to get the cables to sit where they should. The front eye parts were painted in Carmine Red to give a slightly darker shade to the original red of the plastic.
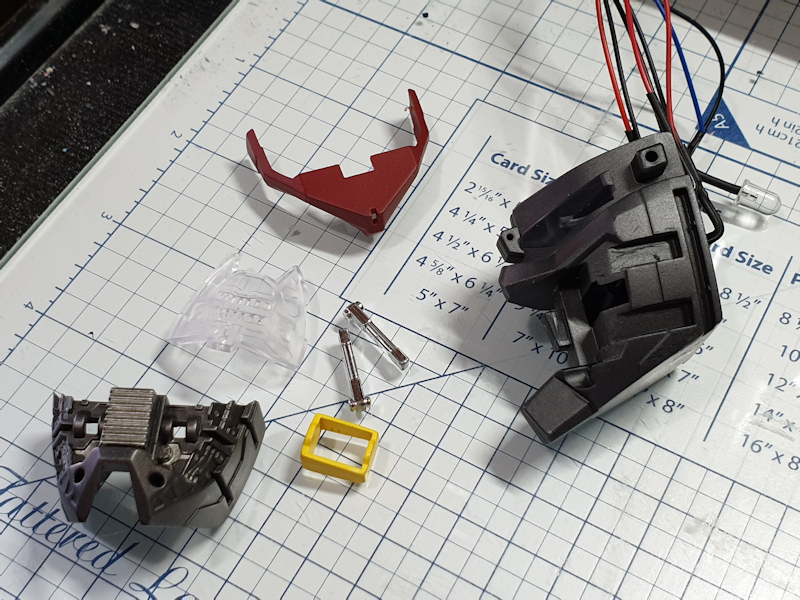
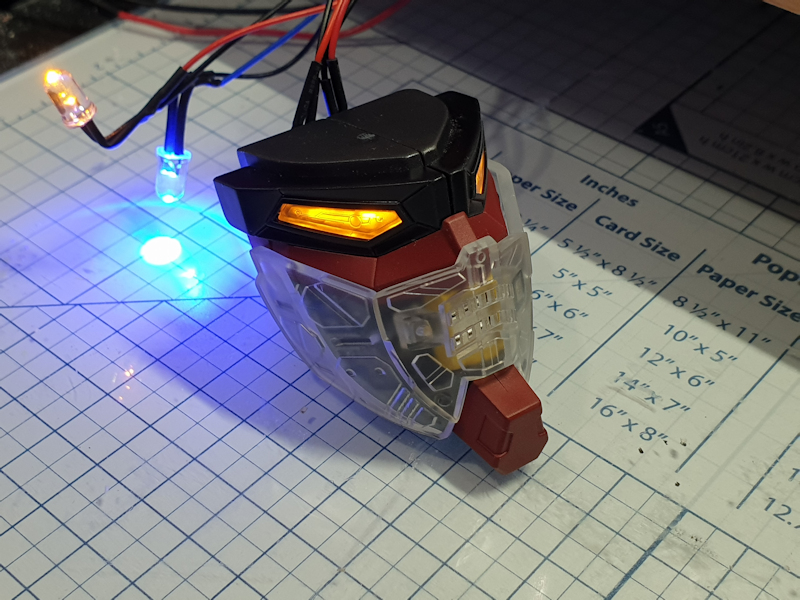
Once it was together I checked that the front face plate still would move out and that the LED’s still lit up. As it only takes a few minutes to do this it will save a lot of time and heartache if you find problems later.
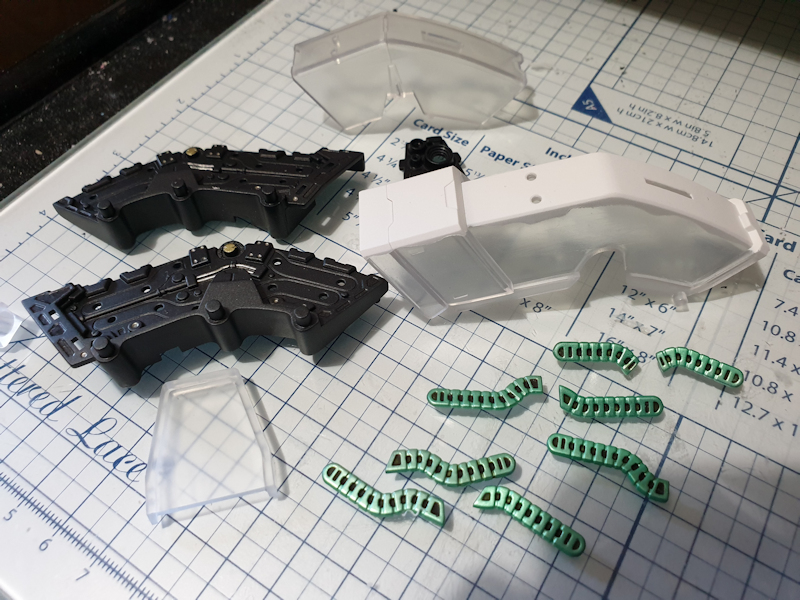
Next comes the top of the head so I am continuing with same colour detailing as with main sections by detailing parts in metallic shades, and instead of just the chrome I painted these parts green & black inserts. To show what the actual armour parts colour should be I masked off most of the inner section of the clear sensor unit then gave it a couple of layers of white.
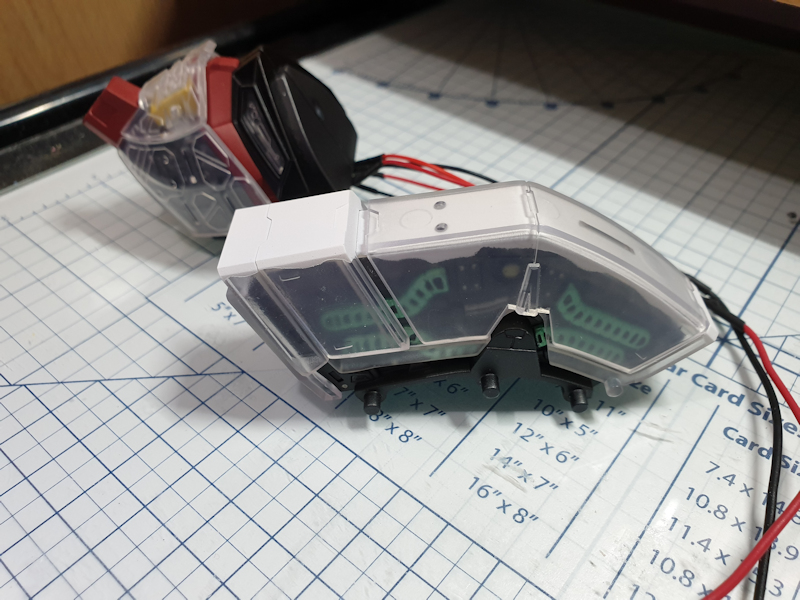
Care again must be taken when putting the unit together so the LED wires do not get crushed, then I checked they were working again.
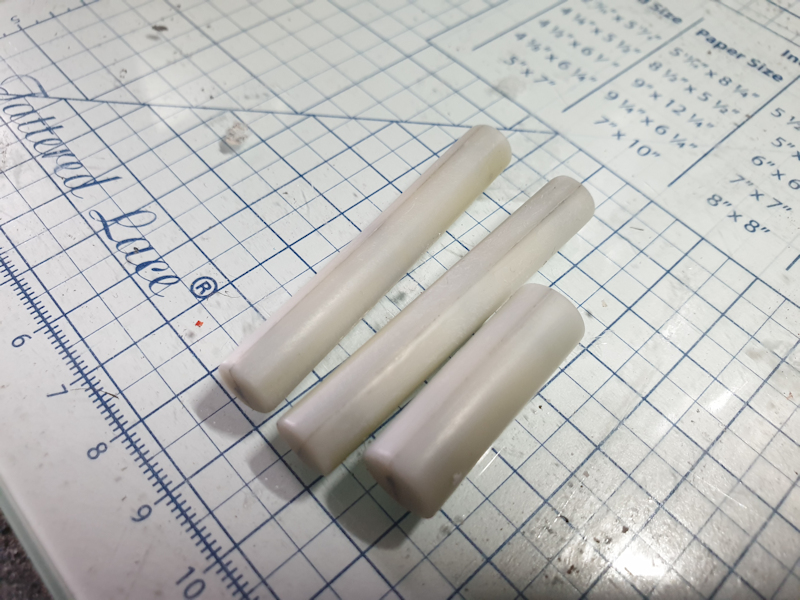
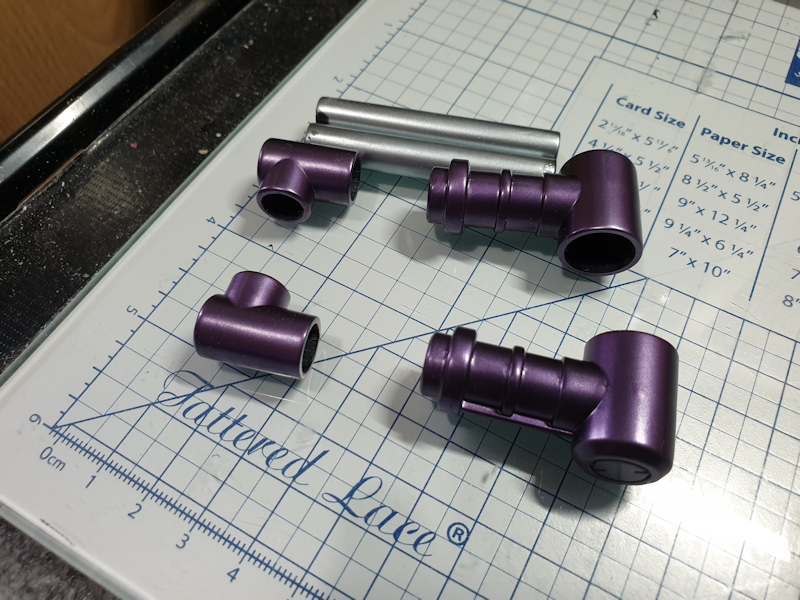
Having a quick break from doing the head section for a bit by doing some work on the pistons for the base. Sadly the chrome plating on the inner parts had when i had glued them together large raised seam lines which I didn’t like. I sanded these down and filled and sanded them smooth, then using Xtreme Metals “Stainless Steel on a gloss black base got them how I wanted to look. The piston ends were painted the same way then I slowly built up light coats of Metallic Purple to a shade I liked.