PG Banshee Norn-04
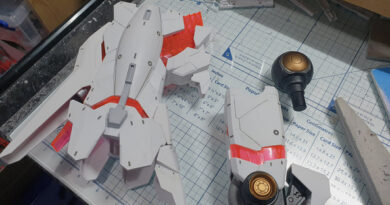
The torso of the Banshee Norn looks difficult, but with reading the steps a few times and test fitting it actually isn’t that bad. Saying that I made it worse with painting the kit, so a lot of the pegs needed scraping or the easier option was to drill out the holes a small bit. The cockpit section and the shoulder joints fitted securly to the lower torso section. You can’t really see due the shadows, but the bottom outer section of the torso was painted blue on a black primer base.

Just take your time fitting the torso psycho frame parts as they have to move in and out so test fit and adjust any mounting points before finally putting in place. Once these are in, then for me I carefully pushed in the painted armour parts being extra careful not to catch or damage the edges of the paint.

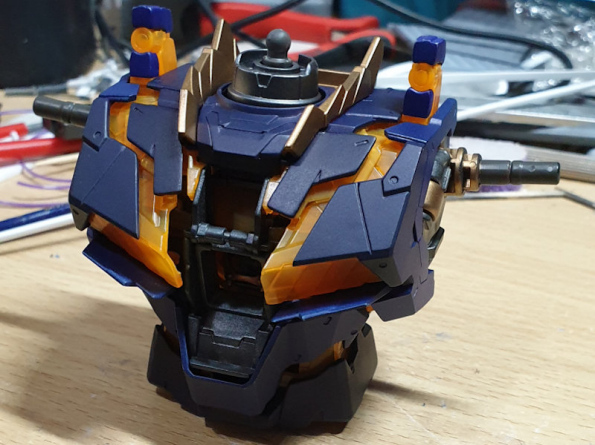
As you can see I decided to change the gold effect to a more satin effect, so took off the plated coating and resprayed Vallejo Gold on a matt black primer base to dull the shine.

The rear armour pieces fitted very well as these have to sit well into the rear of the torso with having the backpack fitted at a later stage.