RB-79 Mobile Pod Ball Ver.Ka -01
I’ve actually got two of these kits to build in this blog. One is going to be fully built with the outer panels fitted, and the second left with most of the inner working of this highly detailed kit left on view is if being built or during a service. Both will have the same painting and detailing so I can decide as I go along which looks the best to be left open
First thing I am starting with are some of the additional side panels and side thruster units. I had worked out the colours I wanted for the main parts of the RB-79’s earlier, so these parts were base painted in a contrasting metal shade of Steel and Pale Burnt Metal, then highlighted in Gold, Gun Metal and Burnt Metal
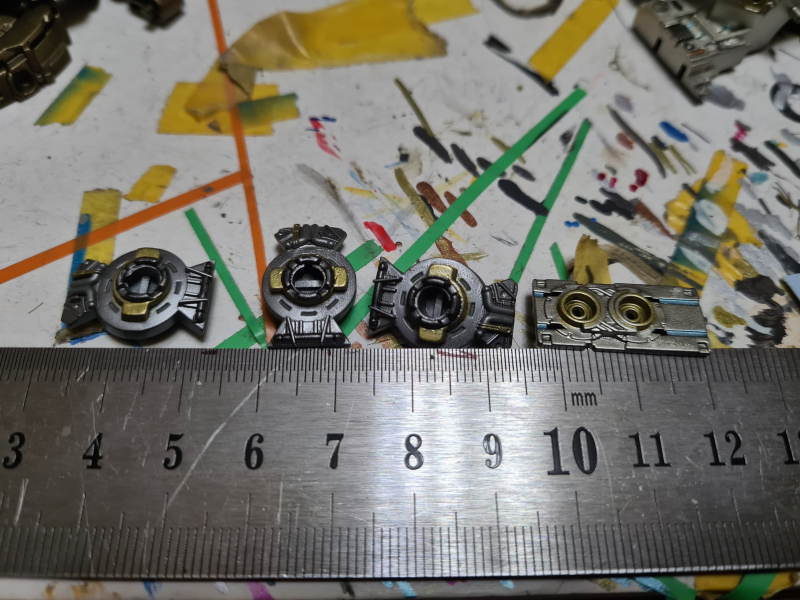
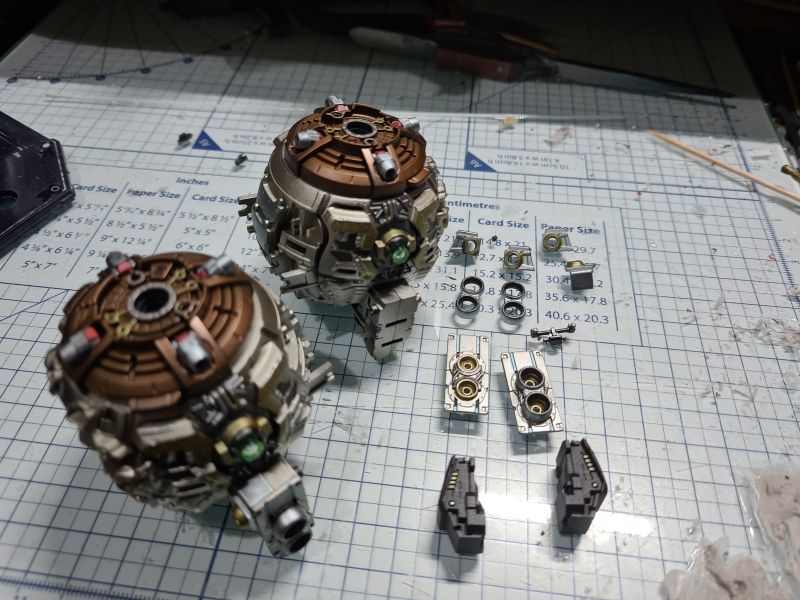
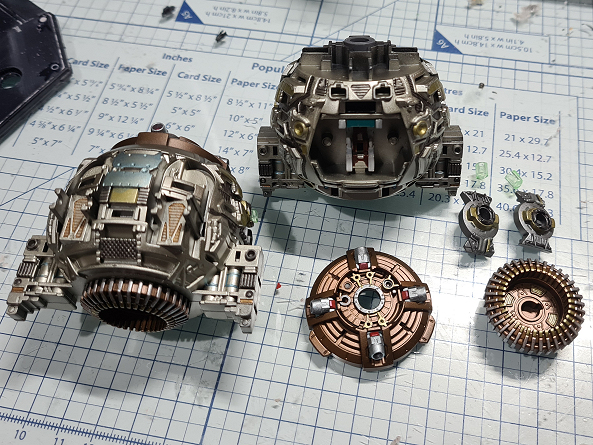
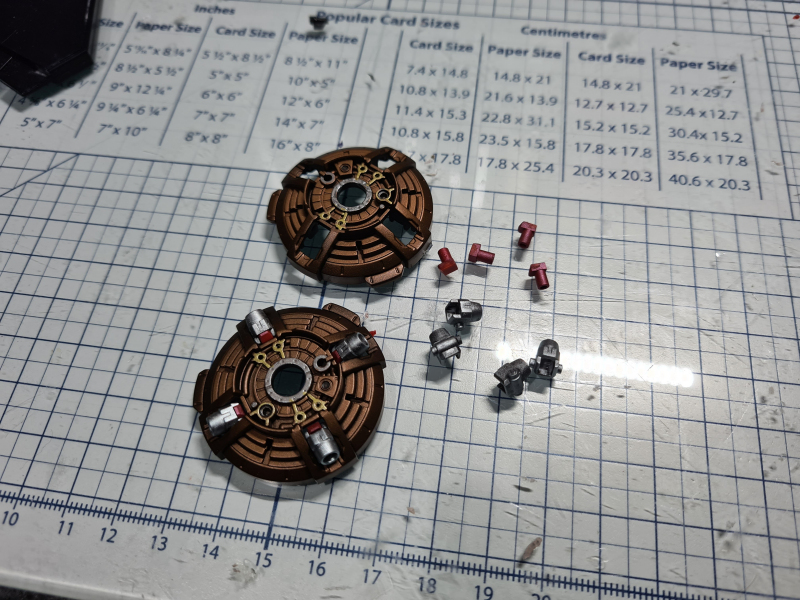
The inner top part of the balls were primed in satin black, then airbrushed in Bronze from the AK “Xtreme Metal” range. When dry I highlighted parts in Gold and Aluminium. For the four small thrusters I painted the main outer parts in Stainless Steel to give a bit of “Bling” or newness to them & the inner parts in matt Red.
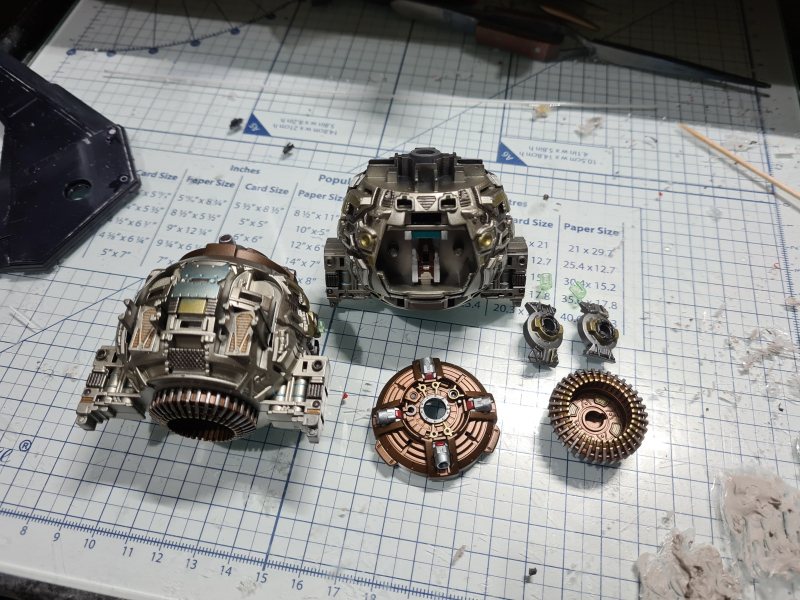
Now to really go to town on the core parts of the RB-79’s with one to be left visible. The main colour that i chose at the start was Duraluminium just to give them a slight twist of a pale yellowish hue against a plain Steel or Aluminium type. When fully dry I broke up the base coat by spraying the side thruster units in Aluminium with Pale Brass and Gun Metal detailing.
It might not show up in the picture below, but the rear vents were painted with thinned Copper and hatch details in gun Metal, Gold and thinned Metallic Blue. The seat of the RB-79 was painted in Dark Grey and Cockpit Turquoise and the front thrusters in Pale Brass.
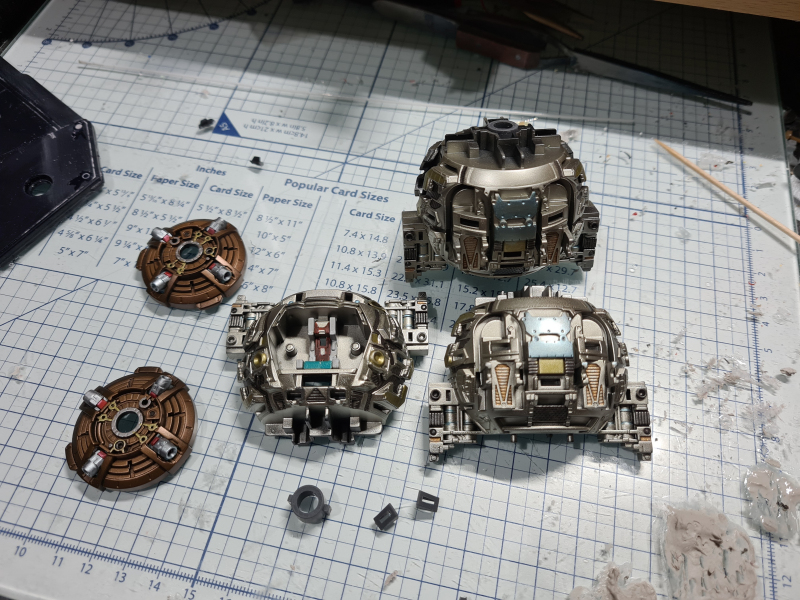
The lower section that houses the main engine was painted in Bronze like the top, and now the top, bottom and the earlier detailed side pieces were pushed into place. Like with most of these kits that are designed to be just snap built I had to scrape some of the earlier painting off to get these parts to fit, but that was to be expected and not a fault in the kit itself.
The final bits to be done in this stage of the build was to paint the small front and rear thrusters that go on the side units in Gold. The outer rings on the side thrusters were painted in Gun Metal to make the earlier painted side one’s defined. The outer section of the cockpit were painted in Dark Grey with just a few Gold highlights on the raised parts at the front