PG Banshee Norn-11
Well this stage is less about plastic model building, but more about how using skills taught to me by my father who is into model railways, the way I finished the base for the PG Banshee Norn to sit on.
With the plaster and rocks well and truly set time to start putting on the ground cover. With PG grade kits representing 1/60 scale the best stuff is good old fashioned model railway scenery materials. In the UK one of most well known makers is called “Javis Countryside Scenics” and they do varoius different ground textures and colours.
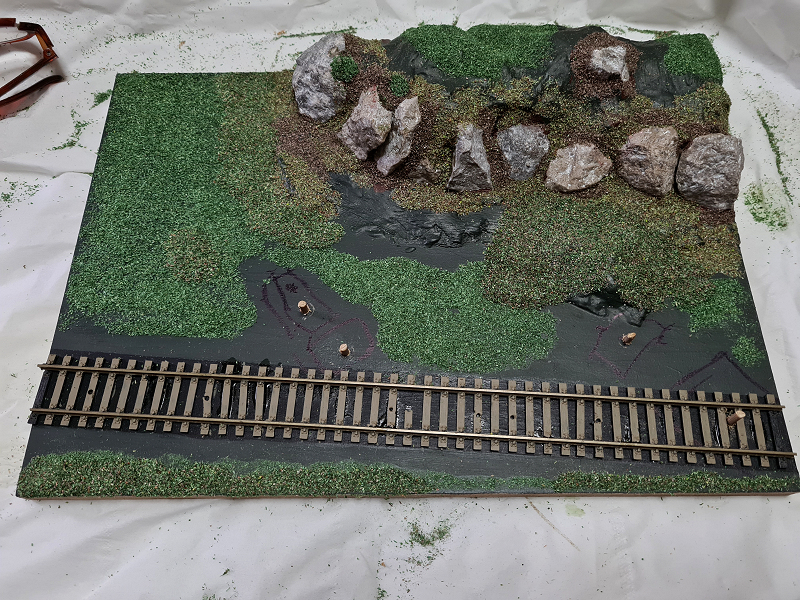
To make these stick all you need is slightly thinned PVA wood glue, and patience. You can only do small areas at a time gradually building the base by blending the materials to produce a realistic effect. I started around the rocks with some “Dark Earth” where very little vegetation would grow. All you do is paint on the thinned glue where you want it to go and then sprinkle on the covering. You can press it down with your fingers to make sure the glue is mixed, but I found that it sometimes, when lifting your fingers away, a lot of the fine particles came with it, and had to sprinkle more back over the area.
Now it is just a waiting game for about an hour to let it start to set before turning the base upside down and gently tapping to remove any excess material, then allowing it to fully set. Once dry re-check and apply more of the ground material till you are happy with the results. Now you can see where a lot of patience is required as we are defiantly talking hours, not minutes to let the glue dry.
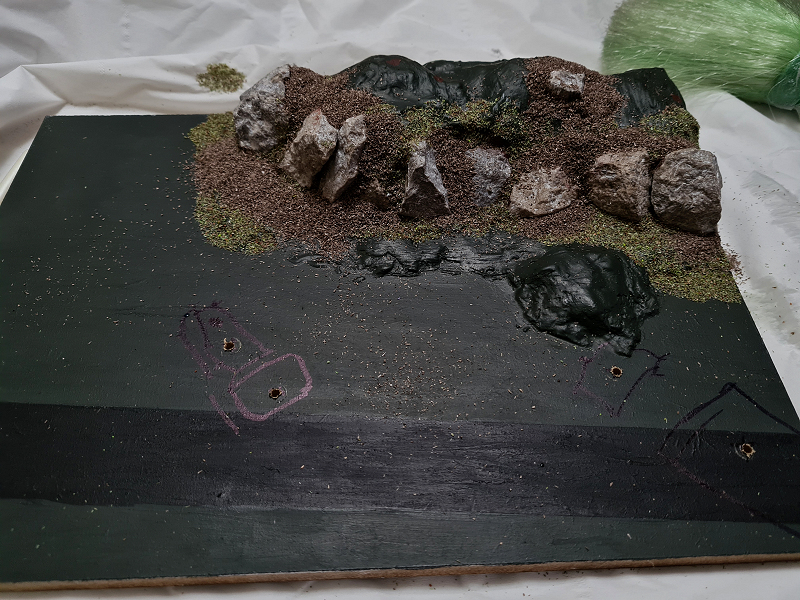
Then just keep repeat the process using different shades of scenery material to slowly build up the ground surface. My second choice was a “Rough Pasture” material blending with some of the Dark Earth, then the third was just the Rough Pasture. So as not to fill in the drilled out holes where the legs will sit I placed some cut off wooden skewers in the holes, that will be removed once all the gluing has finished.
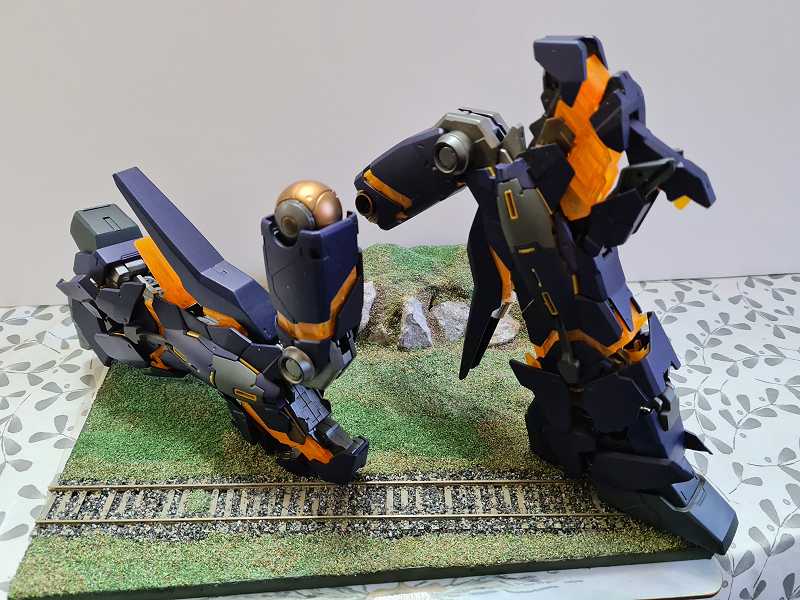
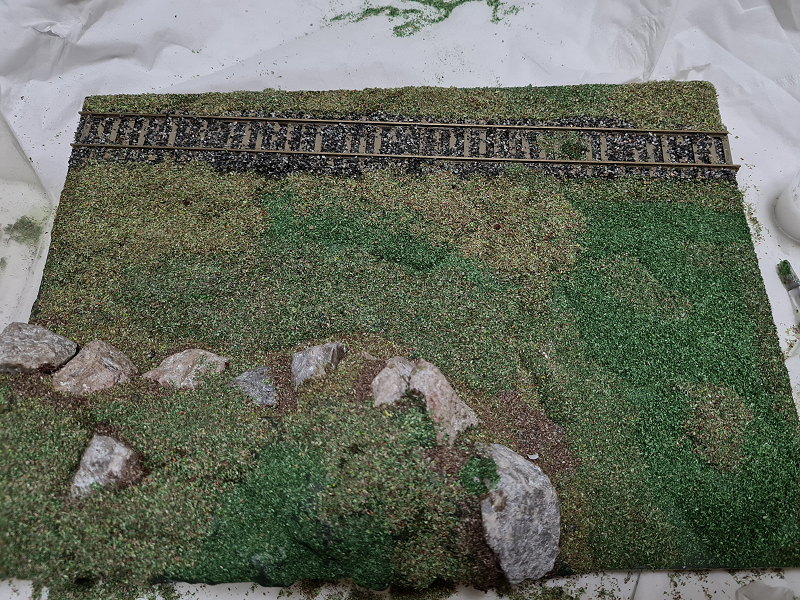
As my Banshee Norn was meant to still be on the Earth, and a nice touch to the railway community I fitted a piece of HO scale track, which is 1/76 scale, so close to the PG’s 1/60th to provide something to quickly show how big the Banshee is. Now back to the scenery material and like before just build the surface up. The main third one is now a more darker grass colour.
In-between the tracks sleepers I used “Track Ballast” , then continued to blend by eye all the main 3 scenery materials to fill in the gaps. As you can see below the finished base has a natural feel to it with a mix of colour variations found in real life.
Time to grab the legs of my Banshee Norn and screw them into the base. As well as the 4 screws I used some clear thick none blooming superglue to really make sure they stay in place. These are now going to set before fitting the rest of the heavy Banshee to them.