PG Banshee Norn-09
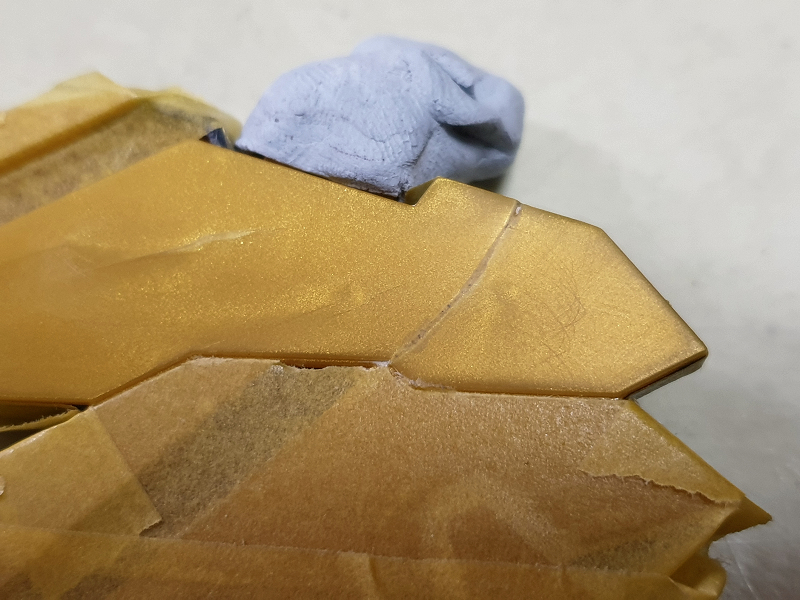
DISASTER!! When I started to put the larger of the two sets of backpack wings together for the Banshee Norn they would not fit, so was trying to take them back off when close to a fixing point it snapped right in two. If I was just snap building the kit this would be a very visible mistake and would be upsetting to my eyes.
Luckily this kit is being painted, so there is a way to recover my mistake by painting the damaged wing segment, then to also paint the opposite side’s matching segment so it will look like it is something original. First to resolve the fitting issue that caused it in the first place. When I looked saw what had happened in that there was a small sliver of plastic that stopped the yellow part of the wing sitting flush against the blue part, so I sanded that down. Yes, that will teach me to be more observant in the future before putting bits together.
Next to resolve the break, which I decided to do by putting the two pieces of the wing back onto the main blue part and positioning the smaller piece as close as possible to the larger piece. To protect the rest of the yellow wing I put some masking tape around the segment with a small bit of overlap on the segment to be painted then carefully trimmed it off down the recessed area around the chosen segment. I then filled the gap between the broken parts with at first thick superglue, then when dry some thin superglue to just above the level of the plastic and allowed it to fully set.
Once dry I gradually sanded the is down to produce a very smooth finish.
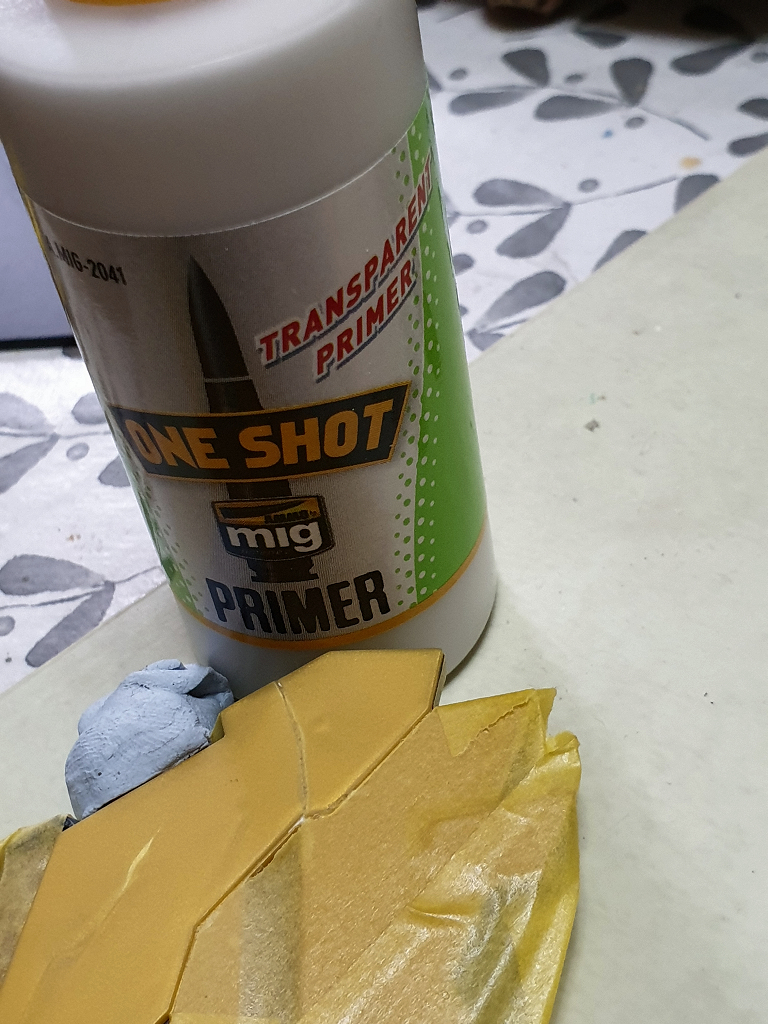
Next stage was to prime the segment I am going to paint. Instead of using thick pigmented primers I used a clear acrylic primer from “Ammo By Mig” just to provide a key for the paint to fix to but still allowing me to use the original yellow gold colour as a base.
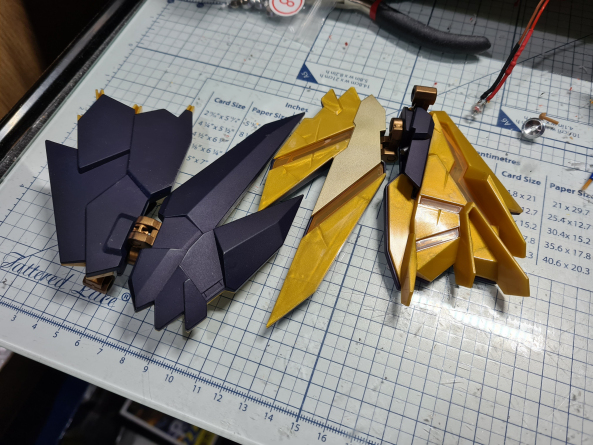
When dried I gave it a very light sanding with 9000 grit sanding stick to give a very smooth surface then gave both the broken segment, and the opposite side, 3 very light coats of Vallejo “Metal Color” gold before checking on how the paint went down and finally taking the masking away.
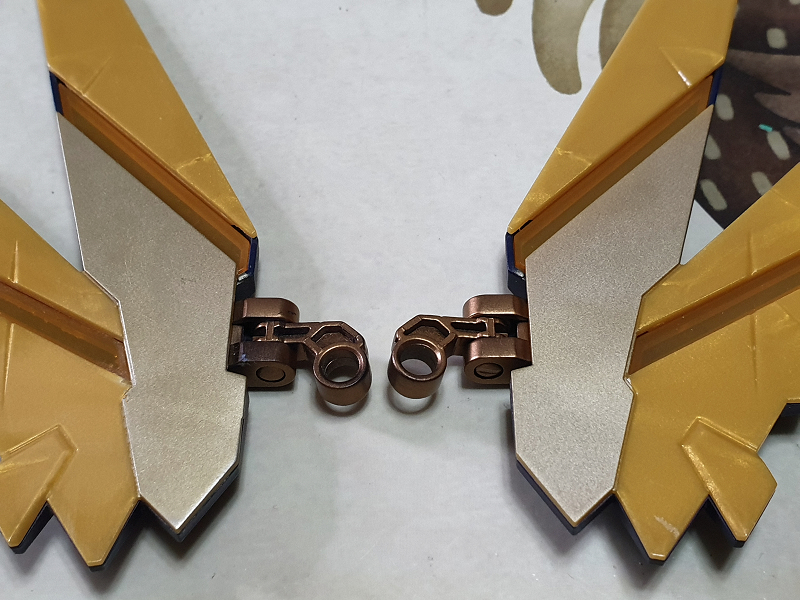
As you can see from the above picture the crack is virtually not visible anymore. RESULT !
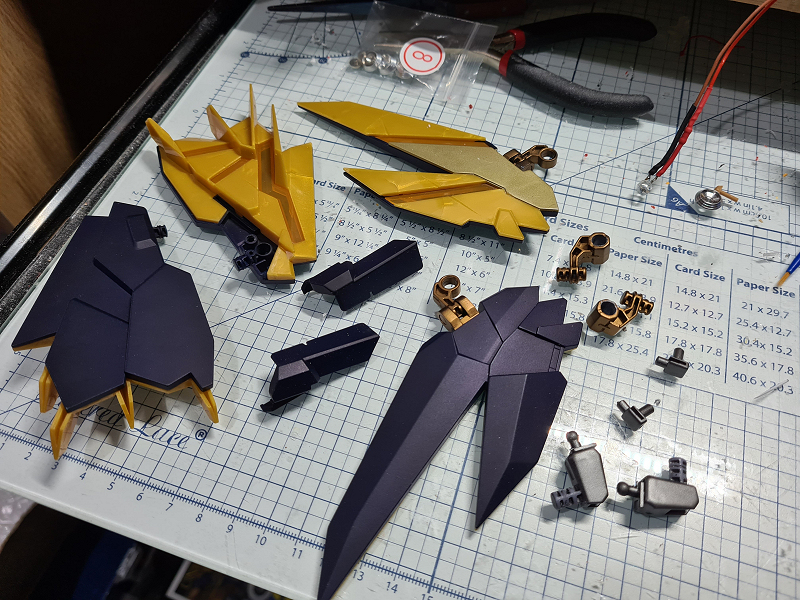
Now I’m back to where I should be, time to finish the backpack wings off. The second set of wing blue parts & the smaller cover sections were painted in the same deep blue as the main Banshee body, and now this time after careful checking and test fitting & pushed the unpainted yellow/gold back sections of these wings into place. The fixing and pivot pins were painted in brass to match the other wing mounting pieces.
Carefully I put the wings together with just a slight scraping of the paint around the pins where the wings rotate to allow a smooth, but not too free a movement, so when posed the wings stay in place.