Diorama for PG RX-78 GP01/fb -01
With this very large kit comes a plastic frame and side supports to mount most of the alternative armour parts. Instead of just having it like that I am going to incorporate the main section into a hangar style diorama. This is going to have LED’s in the base of the floor, and maybe in some other places.
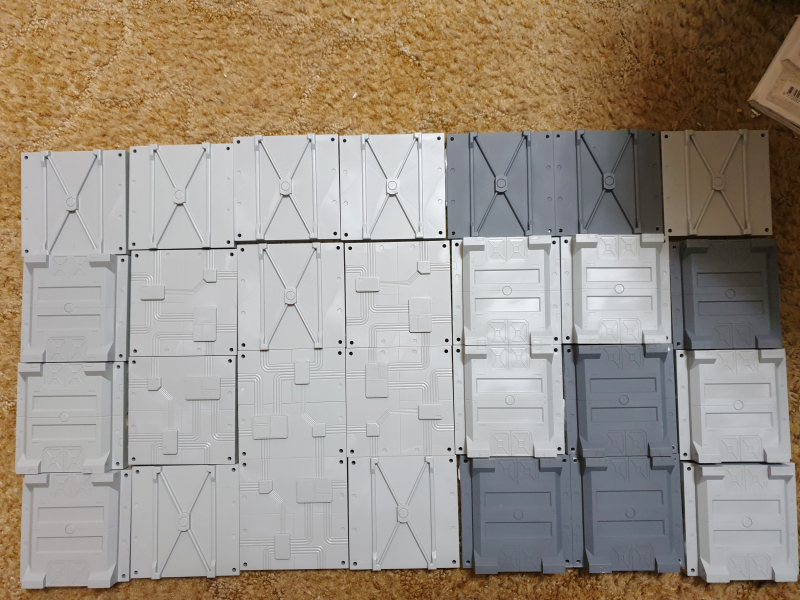
With projects this size I always start with ideas on paper on what I would roughly like to achieve, then research the parts that would best suit it and once that is decided buy these. As long as the core is finalised it allows me more freedom to add additional areas as they develop. With the frame off the original kit being a set dimension I had from an earlier project that got broken a lot of modular “H Hangar” bases made by “Wave Corporation” which I could cover with sheet plastic to make a solid core to this large project. After measuring the frame, I worked out how many sets I would need to make the floor and wall. These sets come in modular form with each piece being 80mm X 80mm square & various beams to represent girders to lock them into position.
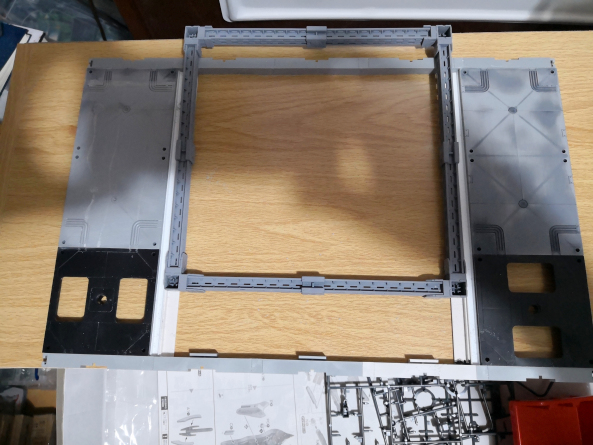
As the shelf is set size, I did some rough placing of the floor sections to get the design to the right width, but more important, the depth.
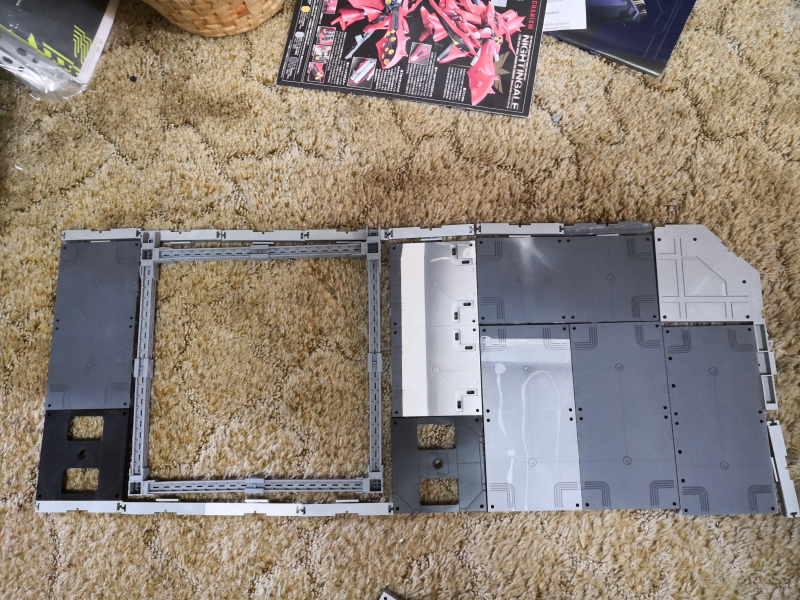
Once I was happy with this, I used the base of the PG RX-78’s frame to work out the bits of plastic beam and angle to fill the gaps in the floor, but more important a solid mounting section for the frame to be glued into.
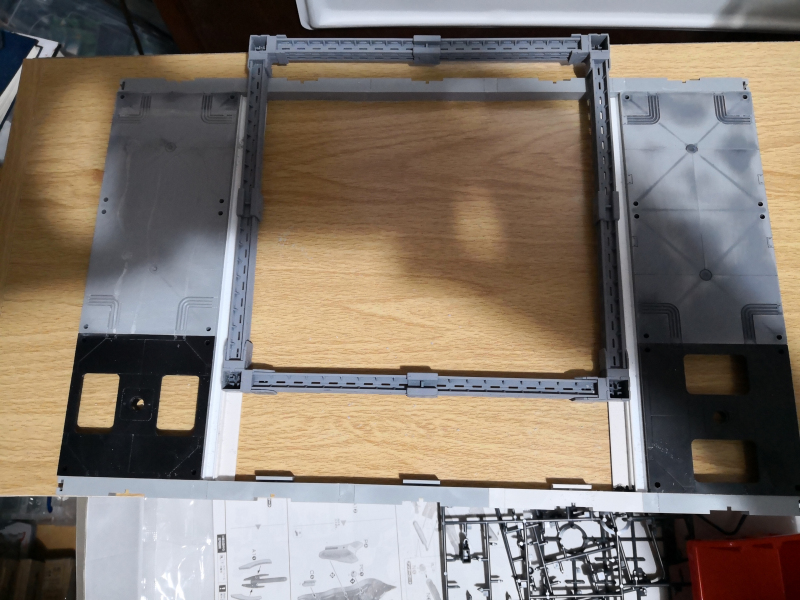
Now with the moulded section for the rear wall I just snap fitted the frame together and then did a similar check to see how many pieces are needed to get the right height for the wall.
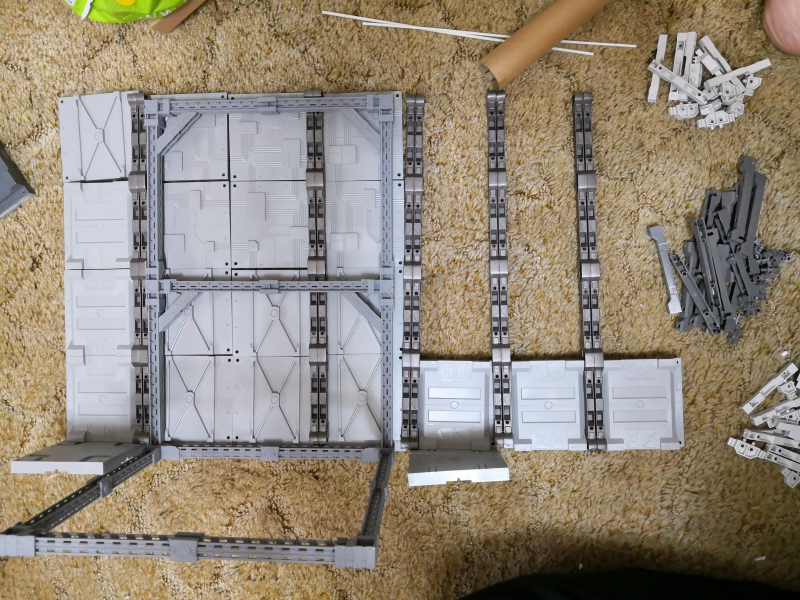
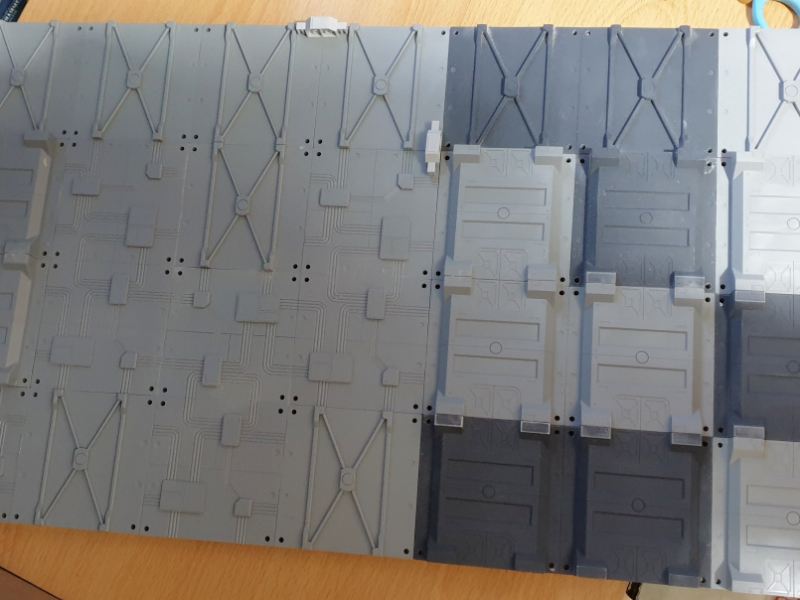
Using the moulded wall pieces from the modular H-Hangar kits I laid them out to work on the design.
Once I was happy with how the wall will look and I have enough parts to get the finished effect I took pictures and notes for reference, then bagged up the wall and floor into separate bags ready for when I start actual building.
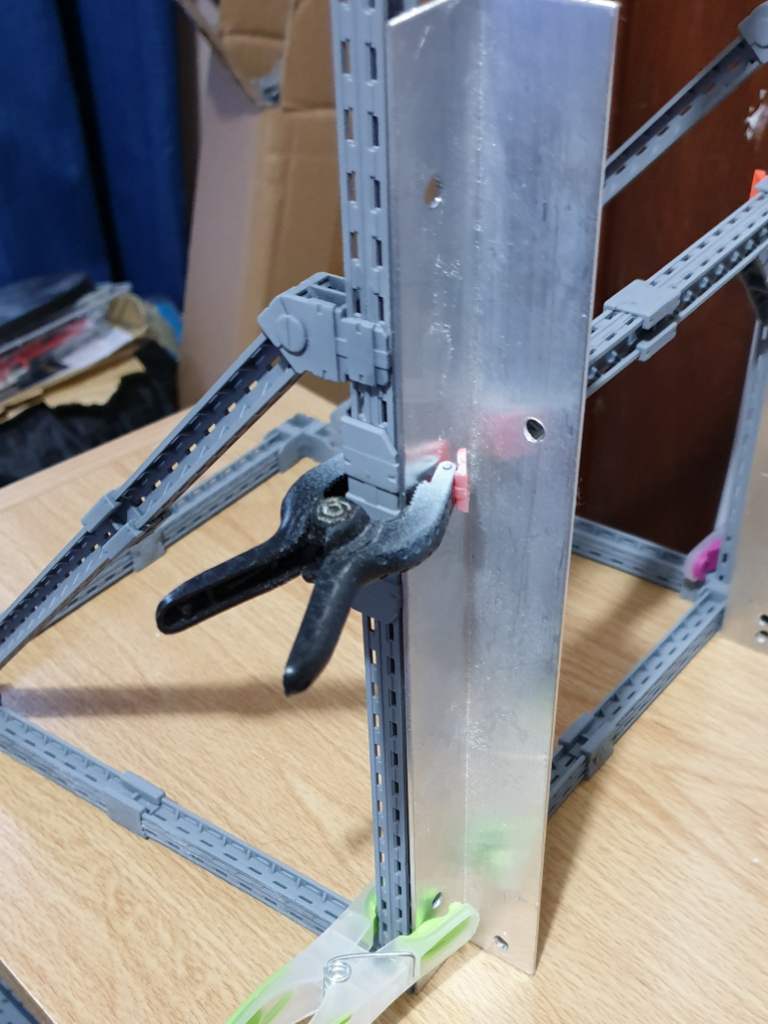
As the frame from the PG RX-78 needs to be totally level and at 90 degrees so that it sit against the rear wall with clearance for additional pipes I’m going to add, I glued the frame together and supported it with a solid 90 degree aluminium angle while drying. This means I have a true frame that will make further work easier to measure and work with.