1/24 GAT-X105 Bust – 08
Big apologies in the delay between my last post as I had an eye issue that needed treatment and could not see clearly out of both eyes, so any kind of model making or painting was off the list.
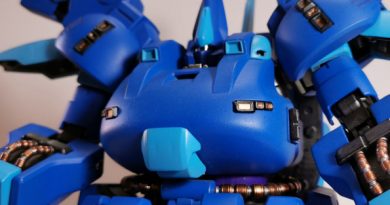
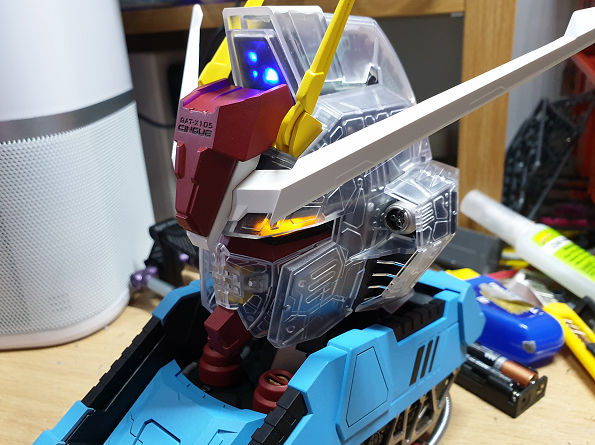
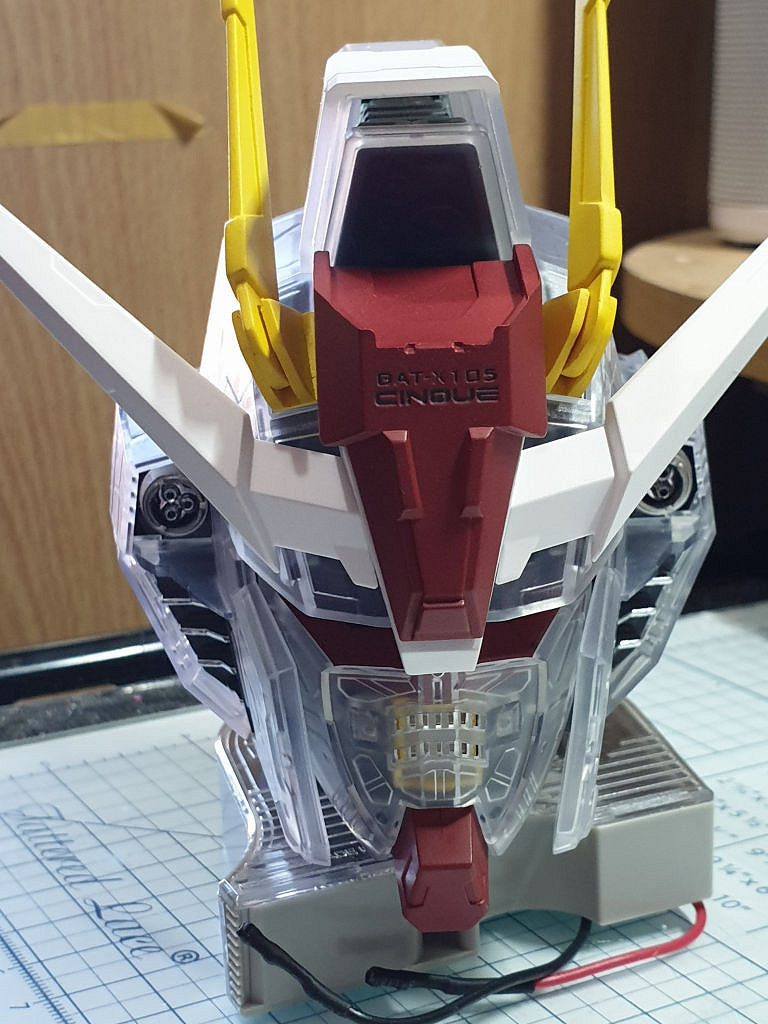
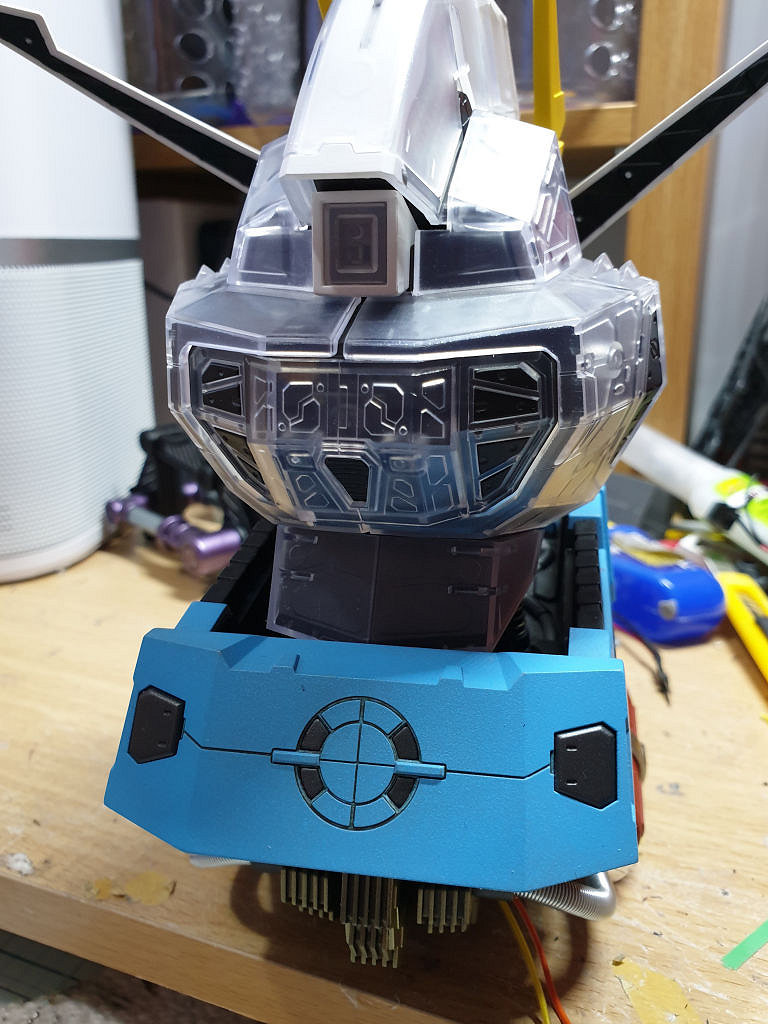
Enough of that, so back to finishing the 1/24 scale GAT-X105 bust. The V fins were painted in white and the fin cover in the same ruby red as the energy units on the upper sections. To make the letters on the cover stand out I panel lined them using dark grey enamel and then cleaned off any overspill.
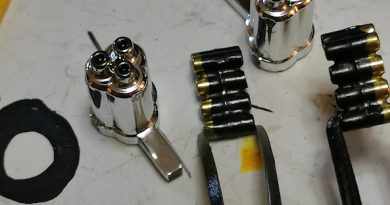
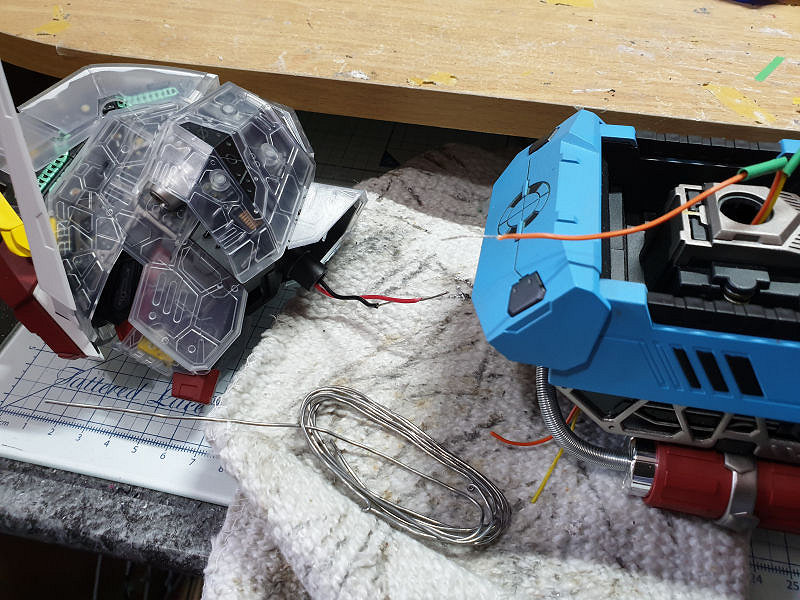
As you know from my previous stages I am not using the wiring & battery box as this & the already completed 1/24 cockpit is going to be run off a 5V power bank via USB. All that was needed here was to solder up the positive & negative wires from the upper unit to the head and then cover with heat shrink to avoid any shorts when the wires are pushed back into the upper section.
Just to make sure nothing was going wrong I put power through the wiring to see if the LED’s stayed on while slowly but surely pushed the wires back into the upper section so that then the head just popped onto the neck fitting. Once fitted I just had a quick check again to see if lights still were working.
Once fitted I made sure the rear section of the head could still be moved in & out without catching anything or scraping any painted areas.
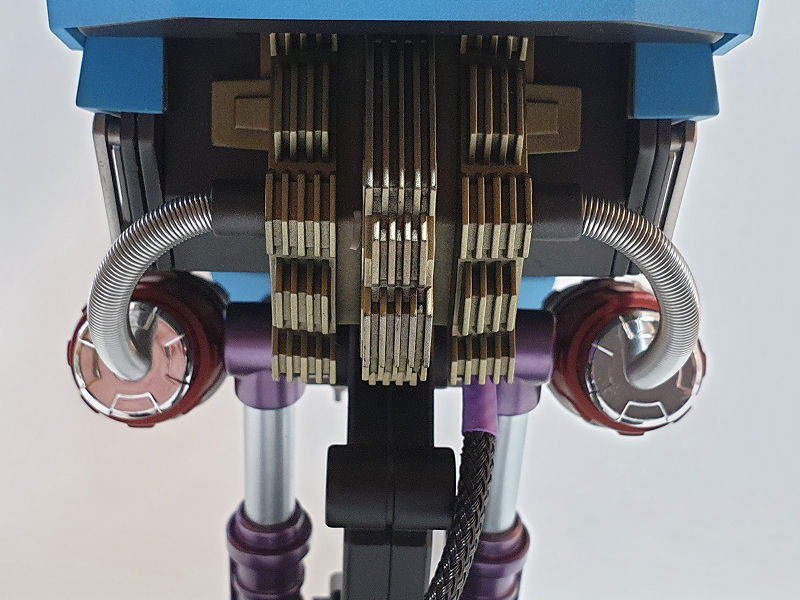
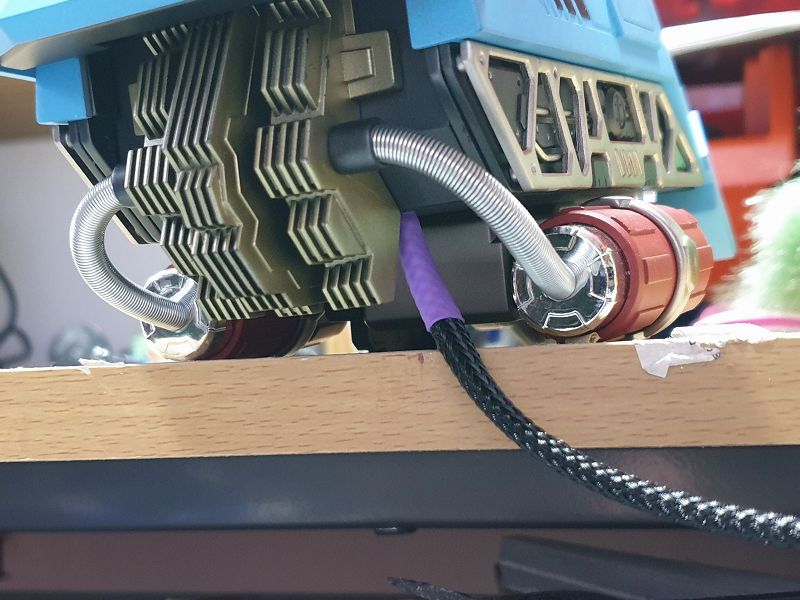
To keep the wires that will join the cockpit tidy & protected I used some old PC braided sleeving and purple heat shrink to closely match the pistons and pushed it into the hole at the bottom of the model by where what I would call heat exchangers were moulded.
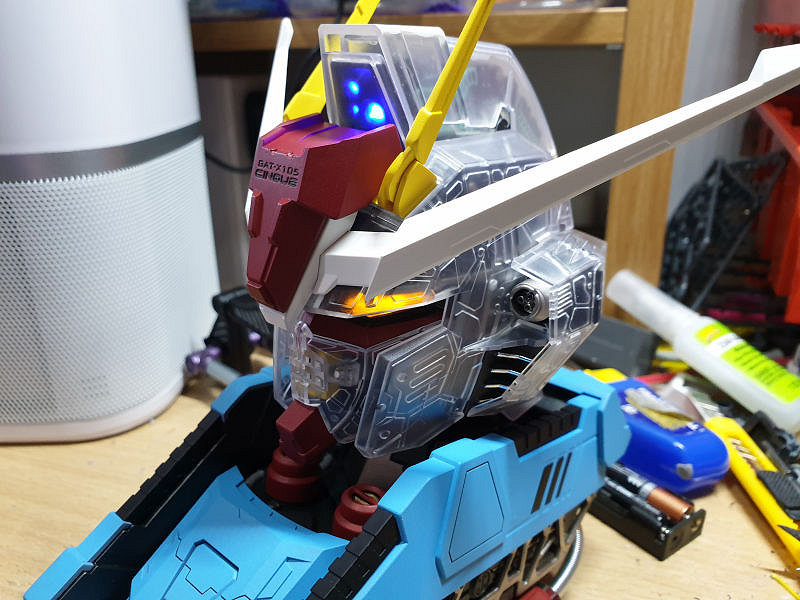
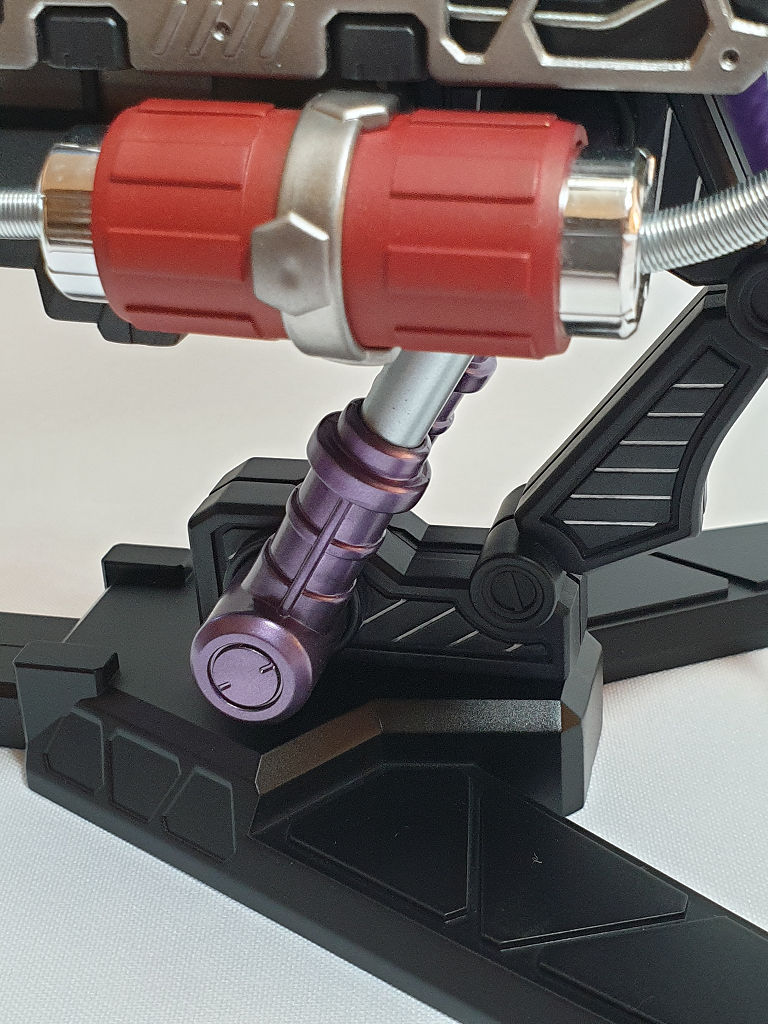
Just a simple case of glueing the finished stand to the head and finished upper section and making sure it’s level.
So there it is the finished model. I know on the instructions you can remove some parts earlier in the build like the side energy units, pipes etc and simply mount the 1/24 Gat-X105 cockpit kit to this, but I wanted to have all the parts on, and by having them separate you can actually see a lot more of the finished kits. I will post pictures of the finished kits soon once I’ve set up the photo area to get a cleaner background.