RE/100 MSN-04 “Custom Colour” Nightingale – 07
Yes there has been a long delay in this kit & that’s due to while moving kits around for some decorating I lost some parts. Now they have been found it has allowed me to carry on with the kit, so let’s get on….
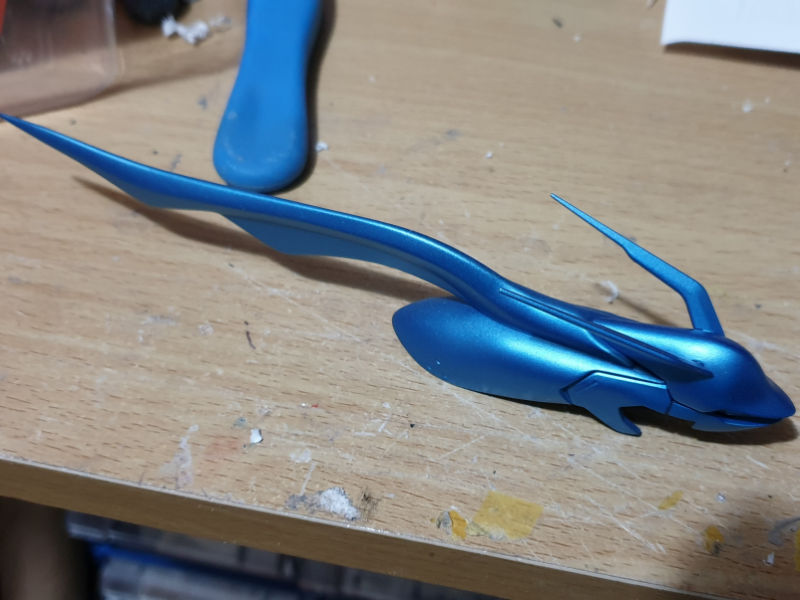
Those seam lines on the front armour have now gone. As you can see on the picture below it looks a lot smoother, and more a single piece as where the join was didn’t look like where a natural line would be.
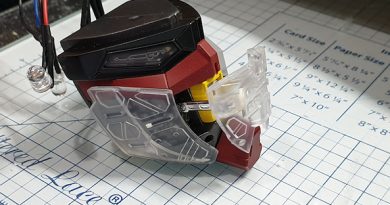
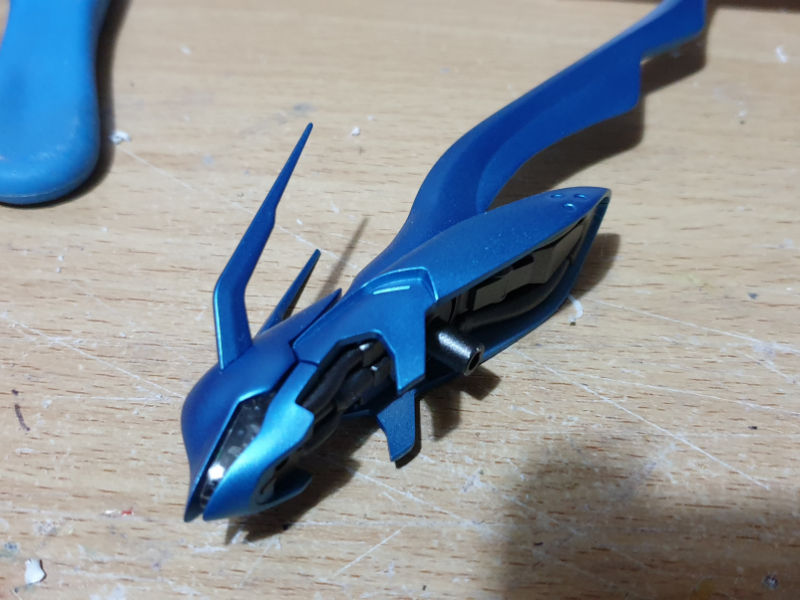
Time to put the head together. There’s actually not many parts to it and a lot of the join lines of the parts are hidden, the earlier work on the top fin section to remove the large seam line gives it a nice smooth flow now. I put some detailing on the underside of the head section like on the pipes just to lift the moulding up a bit.
This is a side view of the finished head section showing how a lot of the parts flow from one to the other.
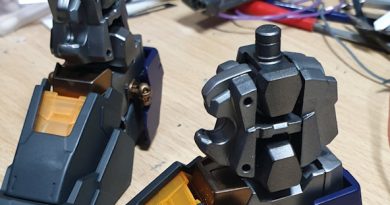
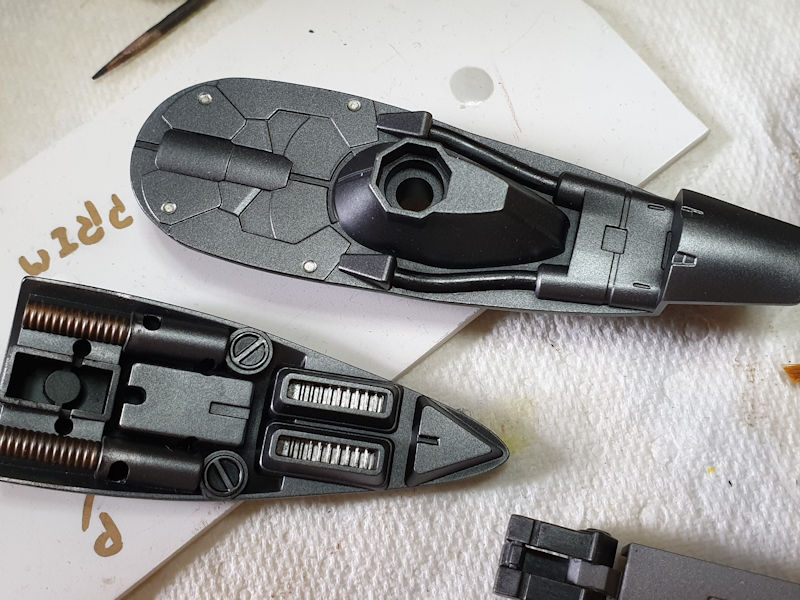
Let’s get the arms done. There is not an inner frame to the arms of the RE/100 Nightingale and the joints fit into the top of the armour directly. The two main top arm joints have mouldings simulating a kind of “gaitor”, so when I made these I removed the seam line & as best as possible smoothed the seam line before painting. I chose a dark rubber colour from the “Panzer Aces” range to make it look like something that was flexible.
Once the main joints were dry I assembled the arms together making sure that I did not scratch the metallic blue or gold highlight pieces.

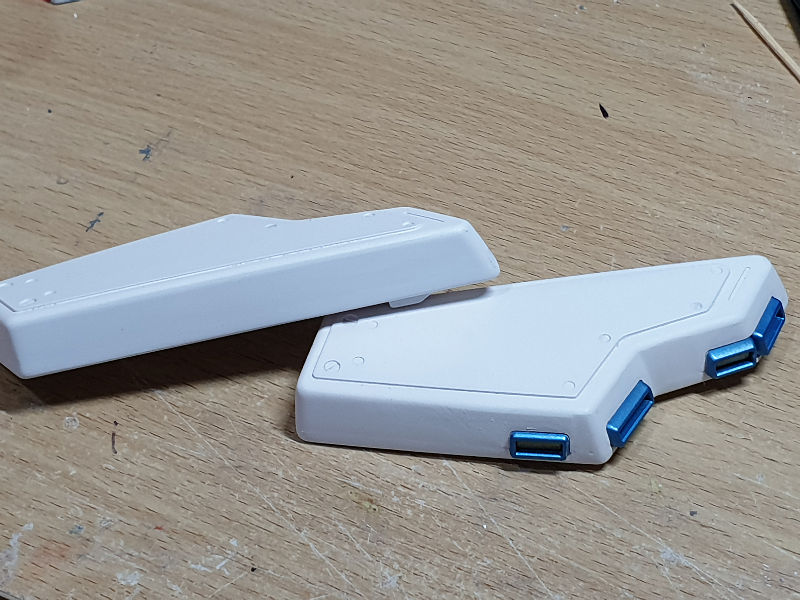
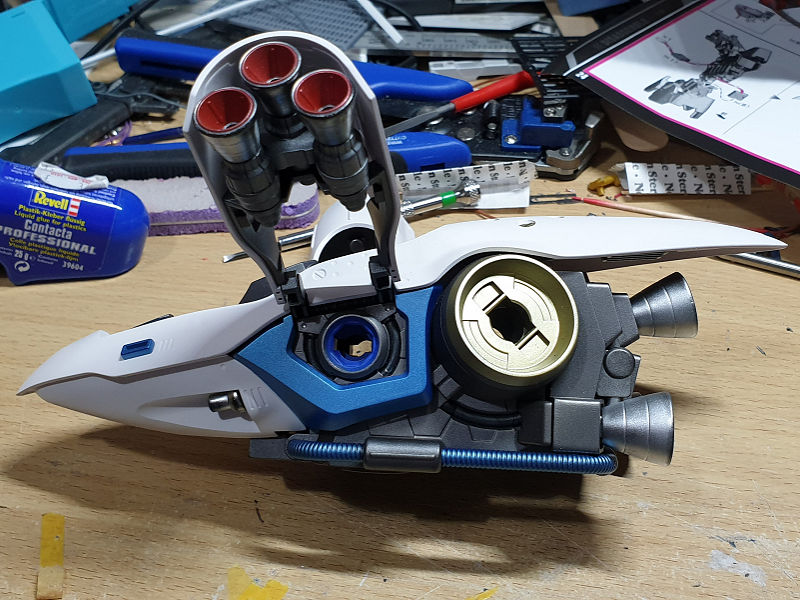
The large armour part that goes on the upper main section does not have many parts and a lot of them will not be that visible, but I still like to add painted highlights to details just to give better definition. Even just a few drops of paint in a recess or panel lining are things I like to do, and these parts had the same treatment.
The completed top armour just pops into place after fitting the small side thrusters, and the earlier painted parts on the main core now show through it’s top. once this part is on there just a few small parts to fit, then the inner section where the head will fit. Now this was, with being painted a very tight fit and had to scrape and smooth the edges to get it to sit and lock into place.

Here is a side view of the completed top core showing the painted details I’ve added.
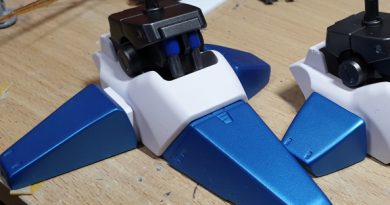
There is not much to say about the three smaller fuel tanks that fit into this section. There was the typical seam lines with this kind of tank, so I just sanded & filled any gaps before painting.