Pretty Armor Viper bike -04
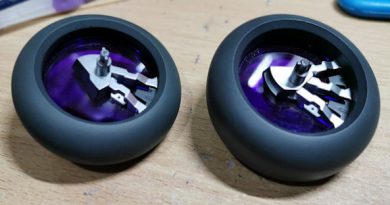
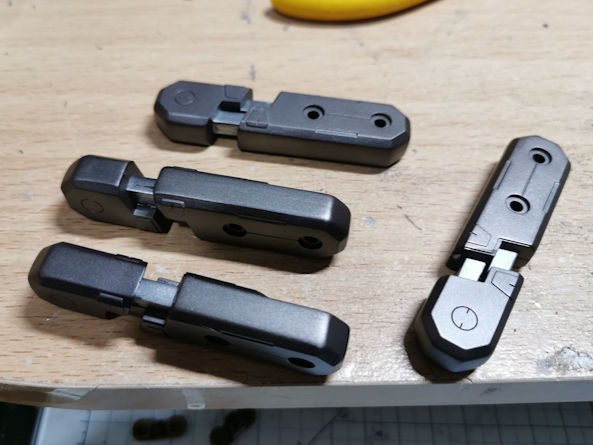
Getting the bikes forks prepared by painted the outer & inner sections in two different metallic shades, but oh once I glued them together those damn ugly seam lines showed up again.
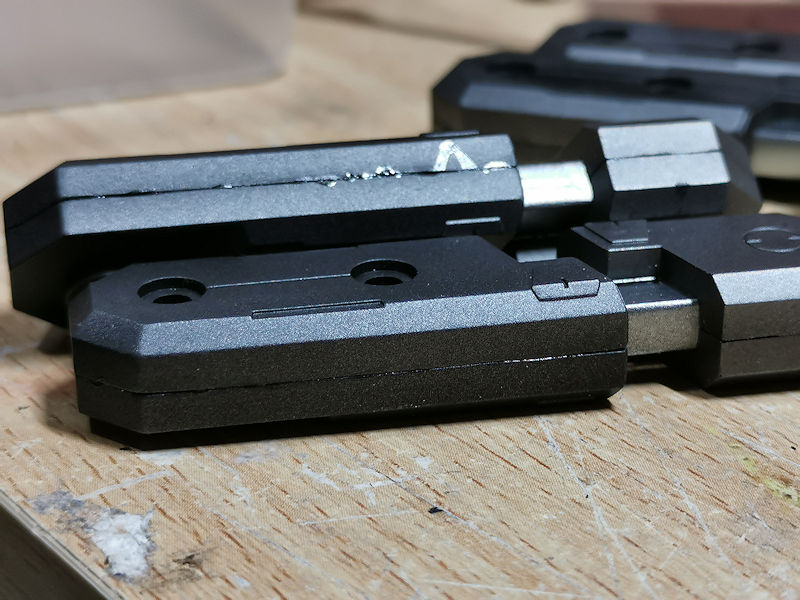
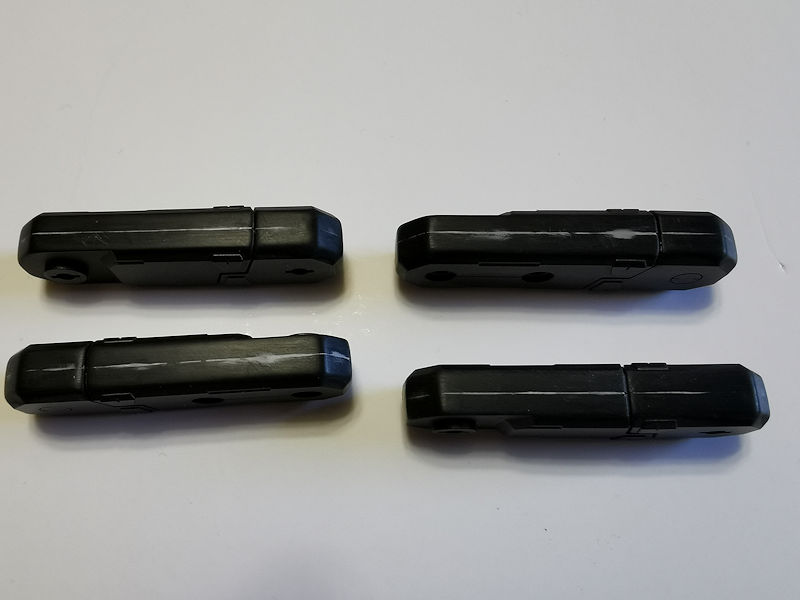
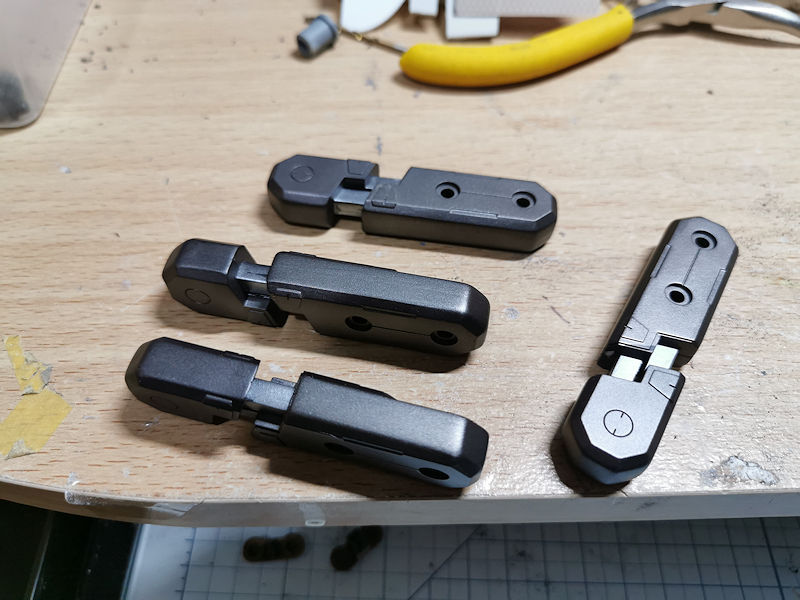
I sanded the seam lines down smooth and with thinned down Revell filler using Contacta glue I carefully put it in the gaps. Once dry it was sanded down smooth, then to “seal” the filler a very fine layer of thin superglue was smeared over the filler and when dry sanded again. As you can see below the gaps were pretty large. These now need re-painting.
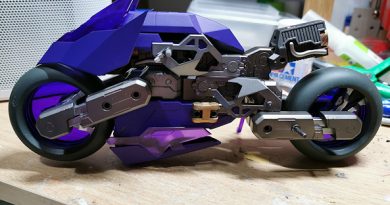
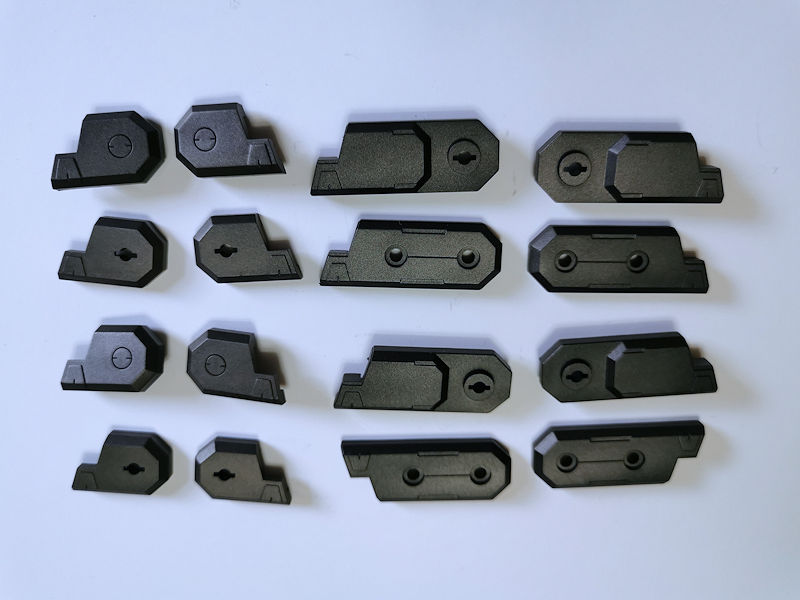
After re-doing the paint work on the sanded sides to match the original paint you can now see they look a lot better as they will be on view when the Pretty Armor bike is finished.
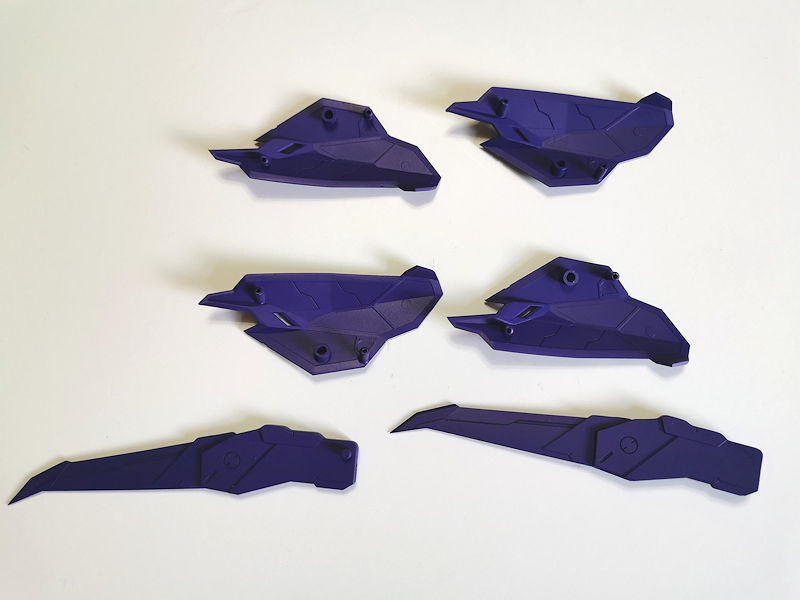
Taking a break from the forks it is now time to start on the outer panels of the bike. I decided to do these in a strong purple colour then highlight the panel lines with a light grey. So to start I cleaned up the panels, gave them a grey primer and 2 light coats of purple. I am going to let these dry for a good couple of days before I start the panel lining.