PG Banshee Norn-10
Instead of having the PG Banshee Norn standing upright on it’s own, or on a conventional stand I’m going to make a small wooden base with a bit of old fashioned railway style ground effects.
I had a24cm X 30cm piece of MDF lying around that would just do for this job, so a quick sanding was all that was needed to get started. I wanted to add some kind of background to the base, and also the idea is to use it as a support for one of the legs as I am going to have the Banshee Norn kneeling. As this is a PG (1/60 scale) and the Banshee was mainly based on Earth I am adding a bit of OO gauge railway line just to aid with the scale representation. This is 1/76 scale, but close enough for what I need.
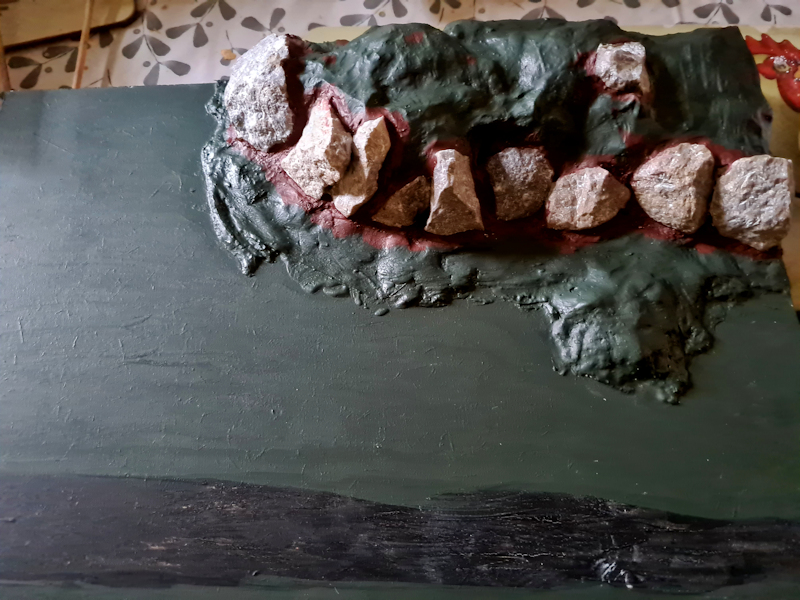
I used bandages used in plaster-casts to start to build up the mound at the rear in gradual stages, then when at a height I was happy with I started to add rocks used in paving and rockeries into the final plaster-cast layer to represent the edges seen in outcrops. I then filled in the gaps with normal plaster of Paris and allowed it to set. When dry I roughly painted the base in green and dark grey for where the track will go. This is so that when the scenic material layers go down the light brown of the wood will not be seen and helps with the finished effect.
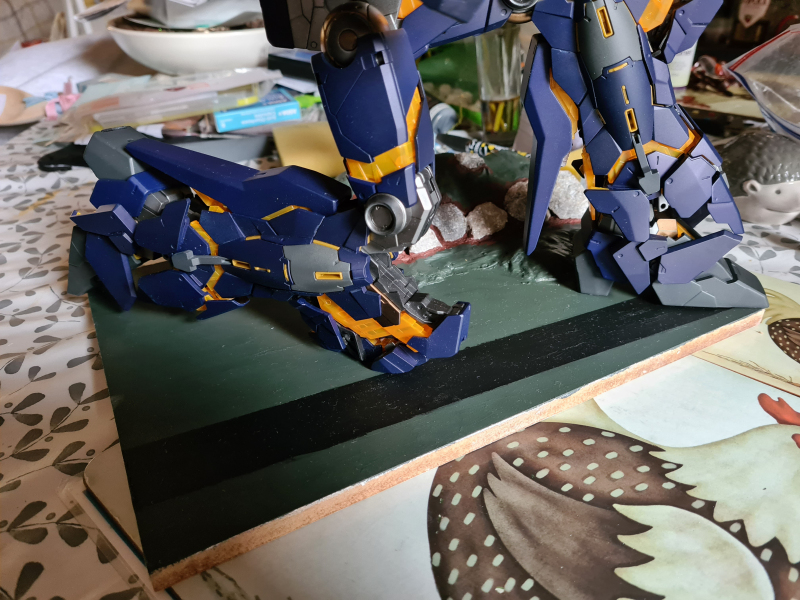
Next job was to take just the legs and just fit them to the hip joints and then try and get the legs in a position I was happy with for the pose I was trying to get. I am trying to get it kneeling back a bit with wings out fully and lit beam sabre in hand ready to strike. I know this kit is going to be rear heavy, so will use the shield as another support for it.
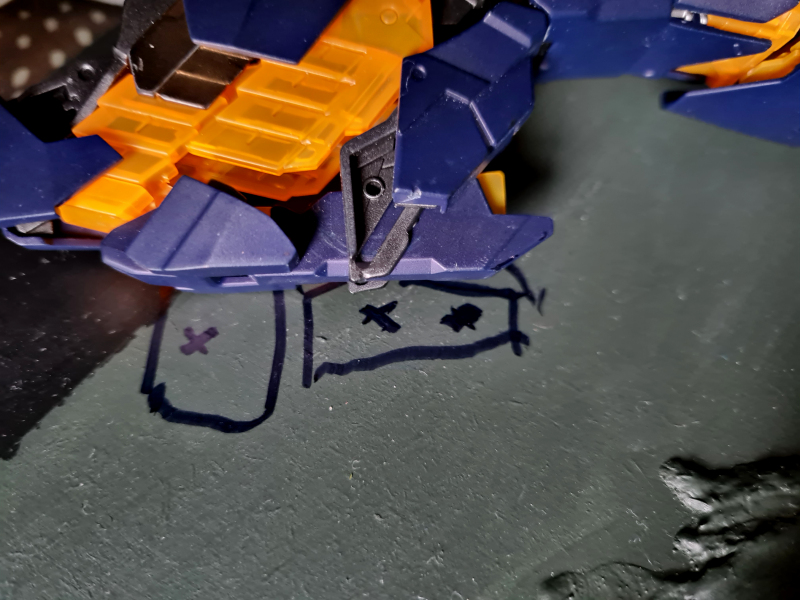
Once I was happy with the test pose I just made a rough drawing round the Banshee’s knees and feet, then took the legs off the hip joint and then put the legs back on the guides to mark the exact position of where I want the screws to go to hold the legs in place against the base & keep the Banshee in place.
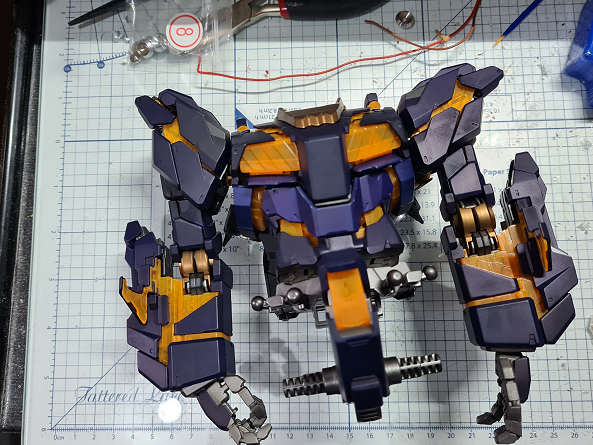
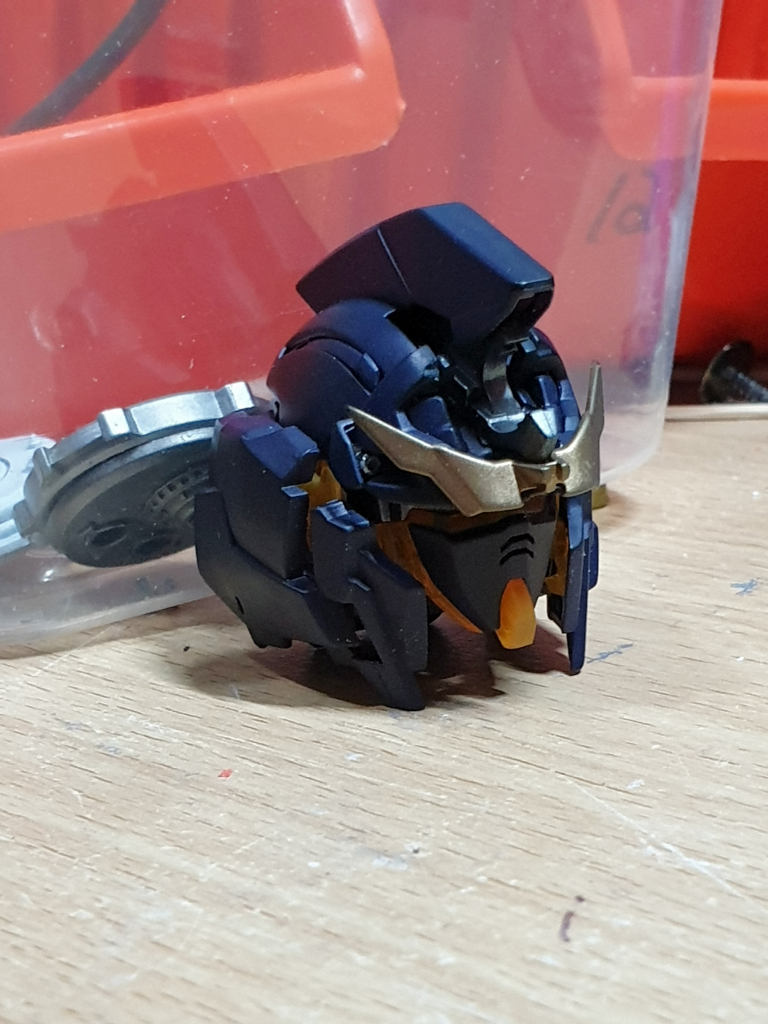
Took a break now from the base to make the head of the Banshee. As the kit will be in the transformed mode and not be changed it was easier for me to paint the outer parts in the dark blue and build already in the transformed mode.
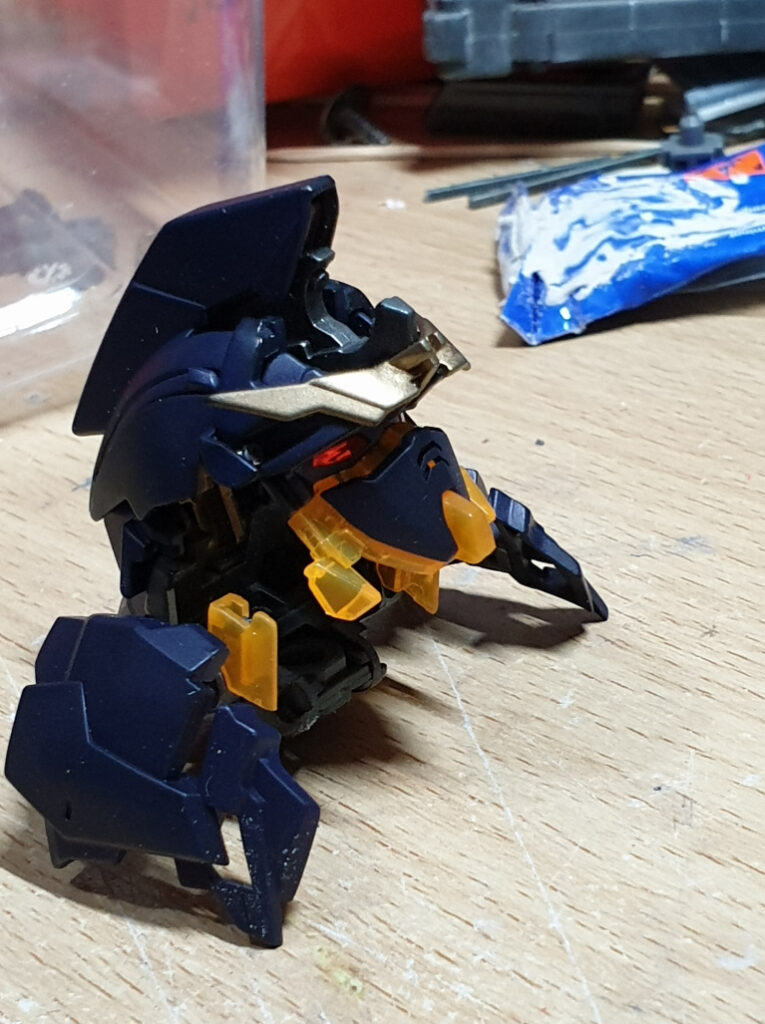
The head went together very easily, and so I don’t damage the V fins I’ll leave these off for now till the kit is finished.
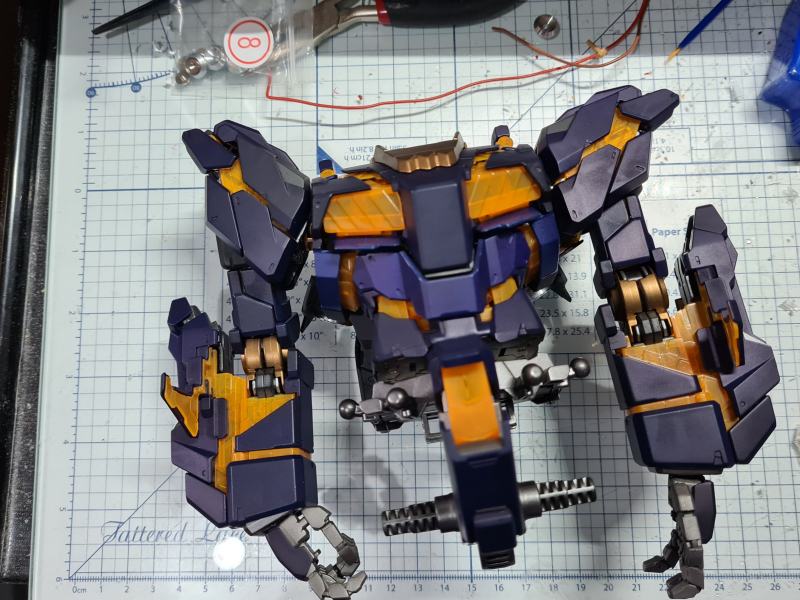
As I do not need the torso or arms till the final assembly, I fitted the hands, arms and shoulder units to the upper torso, then carefully fitted the lower torso. Please take care when pushing the upper torso into lower torso/hips as the ball joint is a tight fit and can break. I found it best that when fitting you make sure the sections are straight and level and don’t try to push them together at an angle.