1/24 GAT-X105 Bust – 07
This kit comes with a switch and battery box, but you will have to take it apart to change the batteries and the switch is very flimsy and already failed once while testing, I had already decided to power the LED’s via a 5V lead the same as the GAT-X105 cockpit I had built before I have made some changes.
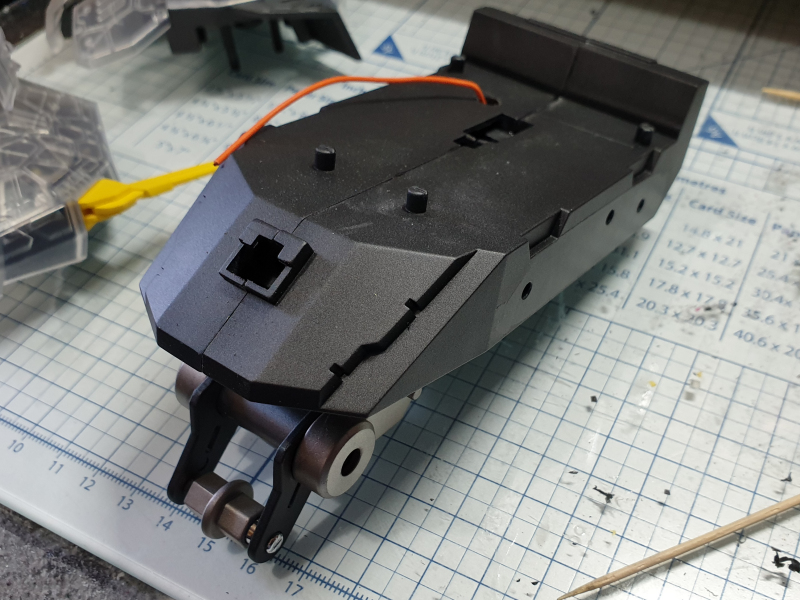
Instead of the battery box I drilled 2 larger size holes one to the rear and left of where the neck unit fits, and the other in the rear underside where the battery box would usually sit.
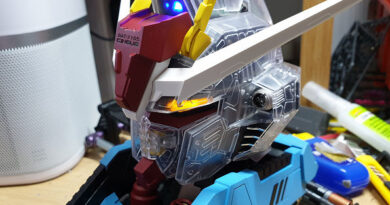
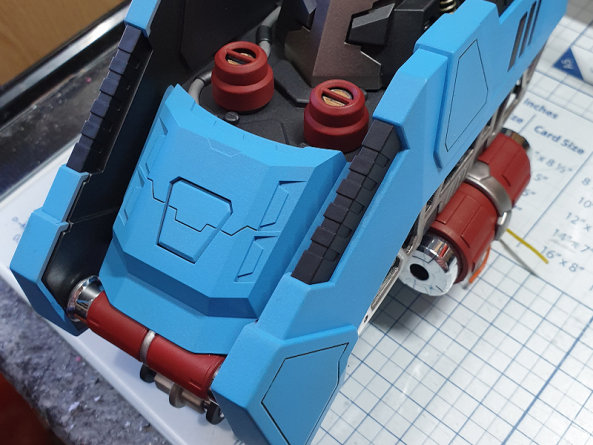
I glued the switch cover to the top armour piece then primed and painted it in same light blue as the sides earlier. The top cover plate was painted in gunmetal and then some of the pipes highlighted in grey and metallic smoke, then the 2 painted detail pieces were glued on top.
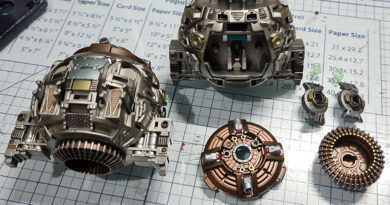
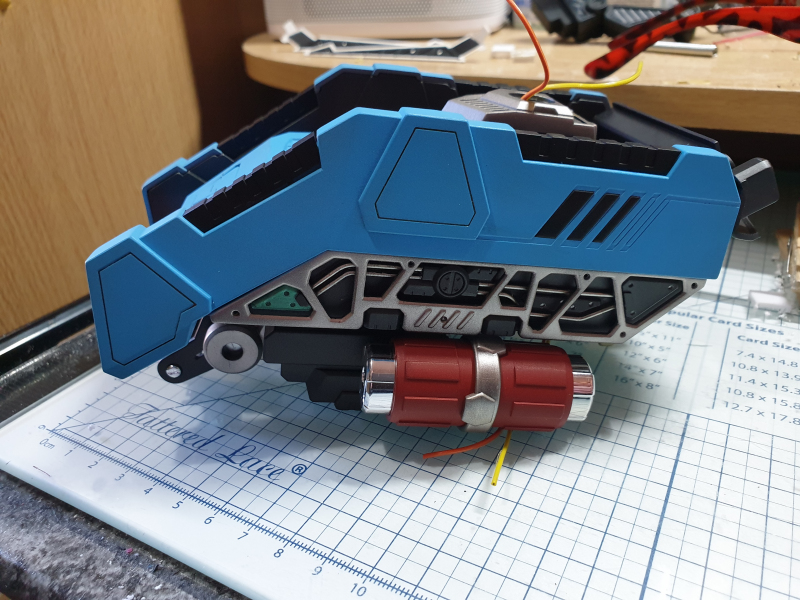
When I was lowering the neck unit onto the core I fed through the 2 wires that will power the head from the additional hole through the neck and then pushed it into place making sure the wires were not caught or damaged and finally a painted cover went over the neck unit. The 2 side energy units were carefully glued in place & left to set.
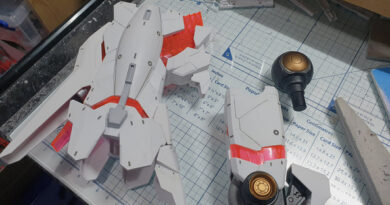
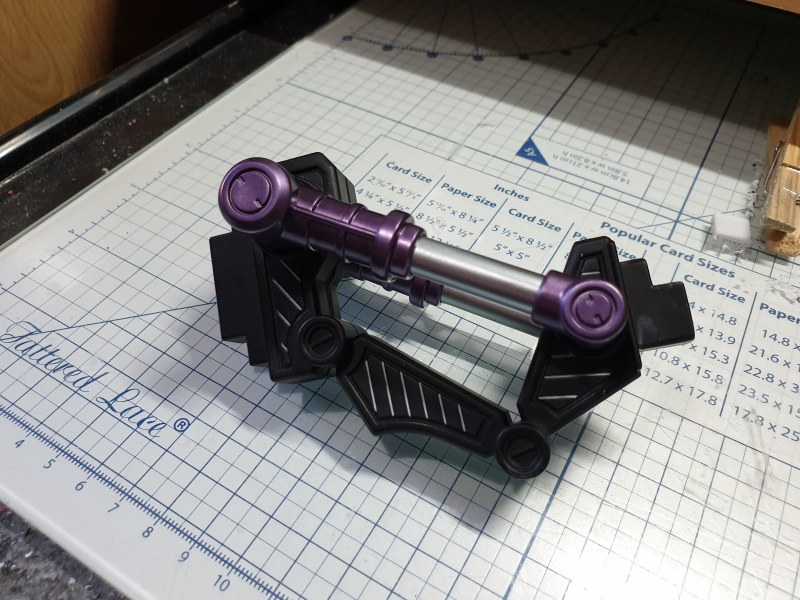
While this was drying I got on with finishing up the stand & the pistons that go either side. The stand was painted just in matt black, but I highlighted all the recessed lines with metallic green that will match the head sensor and the same as the completed cockpit. As expected I had to scrape off some of the paint form the fixing points of the stand and the pistons so that it would fit together better.
Not much more now on the core section to do. Take care when fitting the rear and side panels on as the rear has to fit into fixing points both in the side and the back panel, as I nearly scratched the paint on the sections of the rear panel when pushing it in.
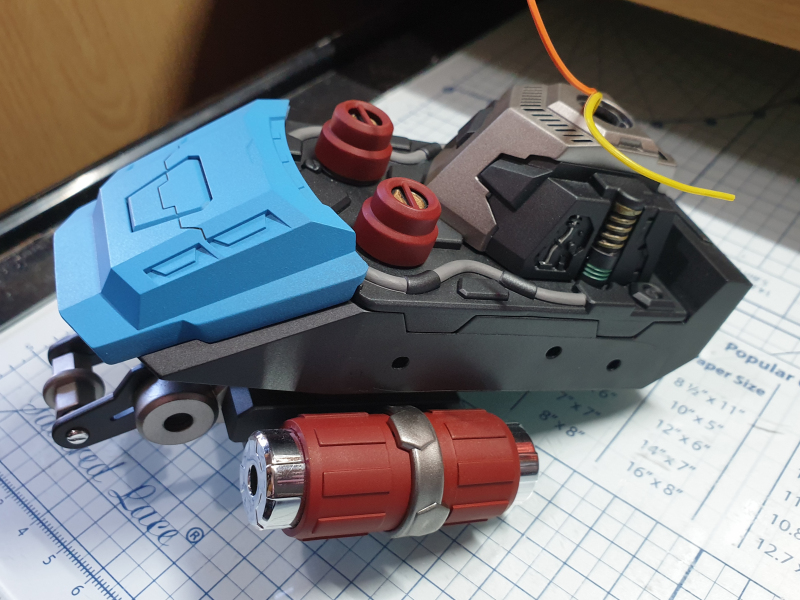
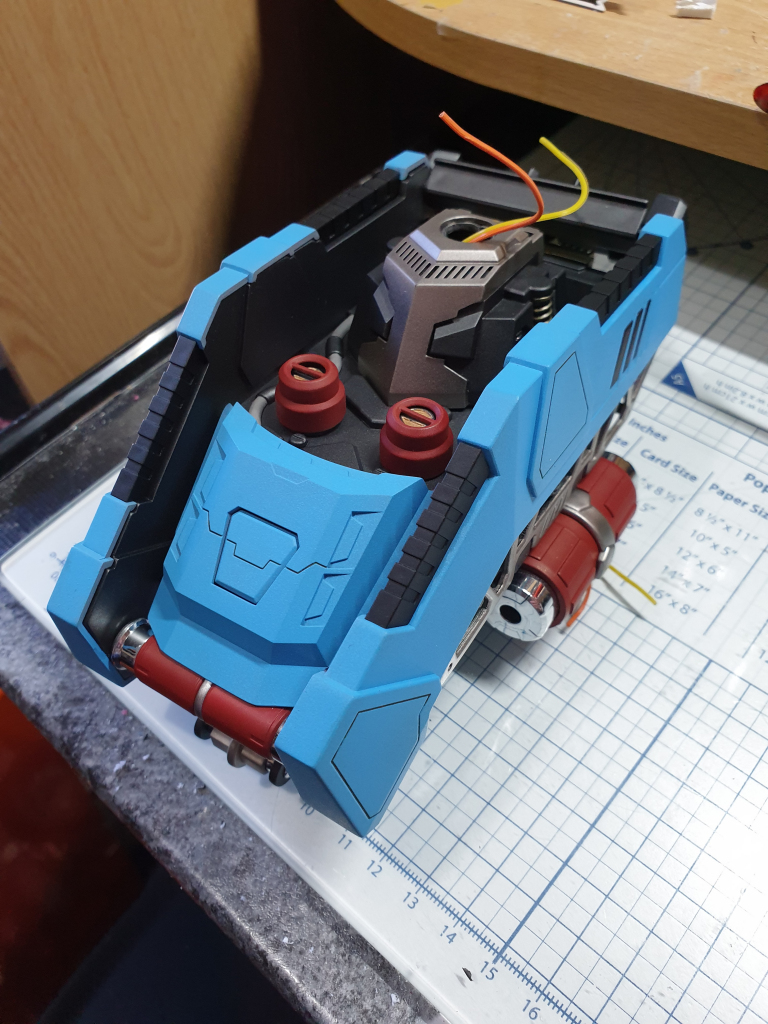
Here’s a picture taken from the front of the core section.
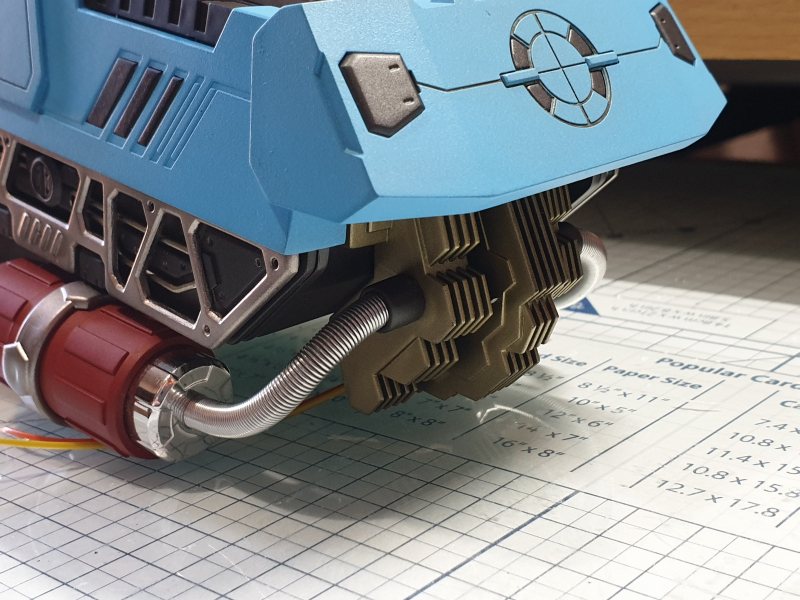
Final bits for now was to fit the painted underside cooling unit for the energy system making sure the wires that will be connected to the LED’s still wasn’t damaged or been crushed. The wire springs that represent the energy cables just pushed into place into the rear cooling unit and the side energy units,